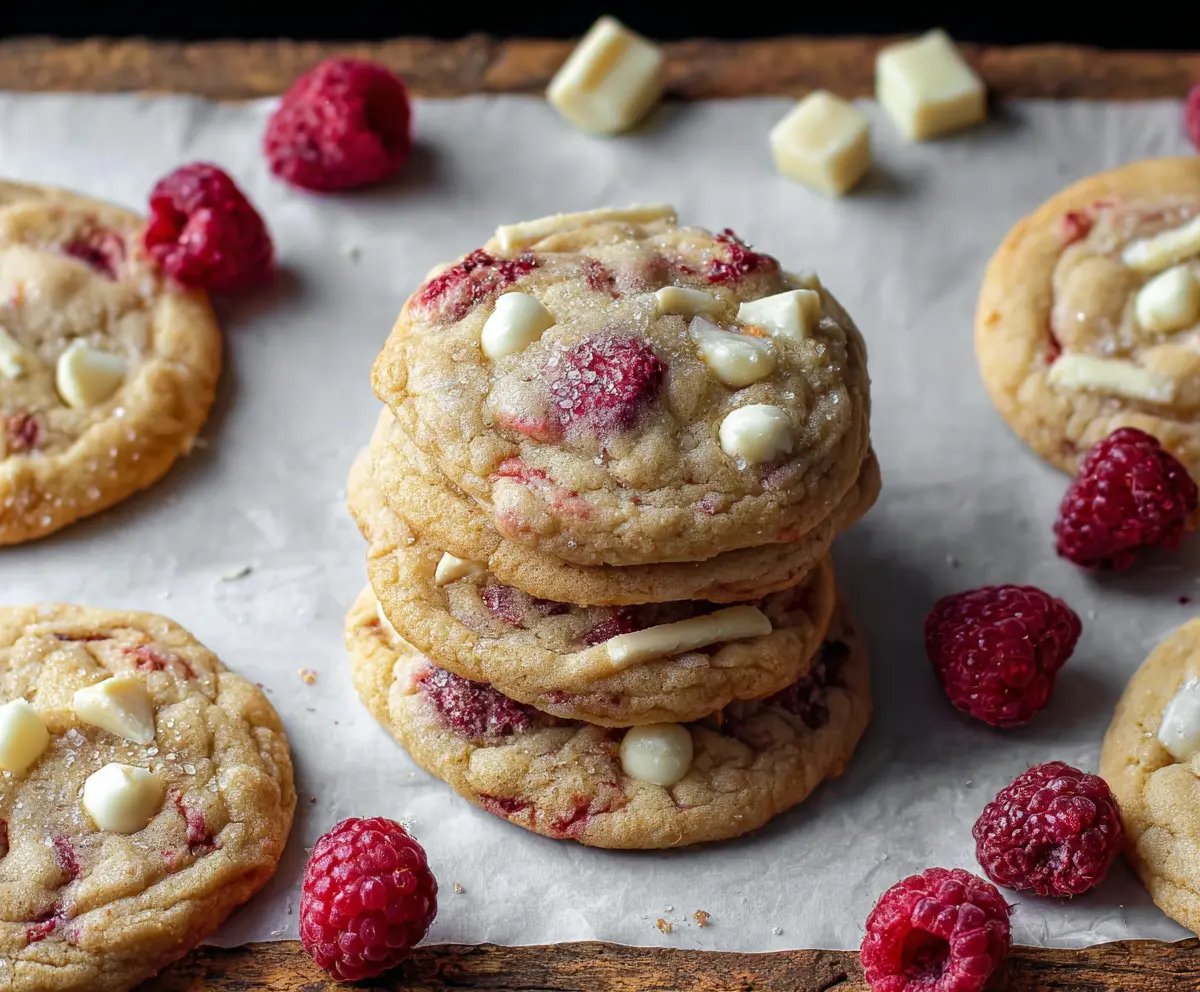
These chewy raspberry white chocolate cookies are a sweet treat that everyone will love! The tart raspberries and creamy white chocolate make a perfect combo.
Making these cookies is super fun. I can’t resist eating the dough before it even hits the oven! Just scoop, bake, and enjoy the fruity goodness. What could be better? 🍪
Key Ingredients & Substitutions
Unsalted Butter: Soften your butter for creamy consistency. If you need a healthier option, you could replace half of it with applesauce or use coconut oil for a dairy-free version.
Granulated Sugar & Brown Sugar: This mix gives the cookies their lovely texture. You can try coconut sugar or a sugar substitute if you’re watching sugar intake, but keep in mind it might change the flavor slightly.
White Chocolate Chips: I love using good quality white chocolate for the best taste. If you’re not a fan of white chocolate, you can swap it for dark chocolate chips or even butterscotch chips.
Fresh Raspberries: Fresh is best for flavor, but frozen raspberries work too! Just remember to thaw and drain them first so the dough doesn’t get too wet.
How Do You Achieve the Perfect Chewy Cookie Texture?
The right texture is all about the technique. Aim for that perfect chewy bite by following these steps:
- Ensure butter is softened, not melted. This helps create that fluffy texture when creaming.
- Avoid overmixing after adding the flour. Mix just until combined to keep the cookies soft.
- Don’t forget to let the cookies cool on the sheet for a bit. This helps them set without becoming too hard!
These tips make all the difference in achieving cookies that are soft, chewy, and easy to enjoy! Happy baking!

Chewy Raspberry White Chocolate Cookies
Ingredients You’ll Need:
- 1 cup (2 sticks) unsalted butter, softened
- 3/4 cup granulated sugar
- 3/4 cup light brown sugar, packed
- 2 large eggs
- 1 teaspoon vanilla extract
- 2 1/4 cups all-purpose flour
- 1 teaspoon baking soda
- 1/2 teaspoon salt
- 1 cup white chocolate chips or chunks
- 1 cup fresh raspberries
How Much Time Will You Need?
This recipe takes about 15 minutes to prepare, with another 10–12 minutes for baking. Plus, you’ll want a little time to let them cool—approximately 5 minutes on the baking sheet. Expect a total of around 30 minutes before you can sink your teeth into these delicious cookies!
Step-by-Step Instructions:
1. Preheat and Prepare:
First things first, preheat your oven to 350°F (175°C). While that’s warming up, grab your baking sheets and line them with parchment paper for easy cleanup. This also prevents the cookies from sticking!
2. Creaming the Butter and Sugars:
In a large mixing bowl, combine the softened butter, granulated sugar, and brown sugar. Using an electric mixer, cream these ingredients together until the mixture is light and fluffy. This usually takes about 2-3 minutes—it’s worth the wait for that soft texture!
3. Adding Eggs and Vanilla:
Next, beat in the eggs one at a time, making sure each one is fully incorporated before adding the next. Then, stir in the vanilla extract until combined. It adds such a wonderful aroma to your cookies!
4. Mixing Dry Ingredients:
In a separate bowl, whisk together the all-purpose flour, baking soda, and salt. This helps to evenly distribute the baking soda, which is important for the cookies to rise properly.
5. Combining Wet and Dry Ingredients:
Gradually add the dry mixture to the wet mixture, stirring gently until just combined. It’s okay if the dough is a little lumpy; you don’t want to overmix it.
6. Fold in the Good Stuff:
Now for the fun part! Gently fold in the white chocolate chips and fresh raspberries, being careful not to mash the raspberries too much. You want those beautiful bits of fruit to stay whole for bursts of flavor in every bite!
7. Dropping the Dough:
Using a tablespoon or cookie scoop, drop rounded balls of dough onto your prepared baking sheets. Leave about 2 inches of space between each cookie, as they will spread while baking.
8. Baking the Cookies:
Pop the cookies into your preheated oven and bake for 10–12 minutes. Keep an eye on them; the edges should be golden brown, but the centers should still look slightly soft for that chewy texture you want!
9. Cooling:
Once baked, let the cookies cool on the baking sheet for about 5 minutes. This allows them to set up a bit more before moving them. Then carefully transfer them to a wire rack to cool completely.
10. Serve and Enjoy:
Finally, it’s time to enjoy your chewy raspberry white chocolate cookies! These treats are perfect for sharing or for a cozy night in—just don’t forget a glass of milk!
Can I Use Frozen Raspberries Instead of Fresh?
Absolutely! If using frozen raspberries, be sure to thaw them first and drain any excess moisture. This helps prevent the dough from becoming too wet, which can affect the cookie’s texture.
How Do I Store Leftover Cookies?
Store any leftover cookies in an airtight container at room temperature for up to 3 days. If you want them to last longer, you can refrigerate them for up to a week or freeze them for up to 2 months! Just make sure to let them cool completely before storing.
Can I Substitute the White Chocolate?
Yes, feel free to substitute white chocolate chips with dark chocolate or even milk chocolate chips if you prefer! You can also add nuts for extra crunch or use a combination of chocolate types for a fun twist.
What Can I Do If My Dough Seems Too Sticky?
If your dough feels too sticky, it may help to chill it in the refrigerator for about 30 minutes. This makes it easier to handle and helps the cookies maintain their shape while baking.