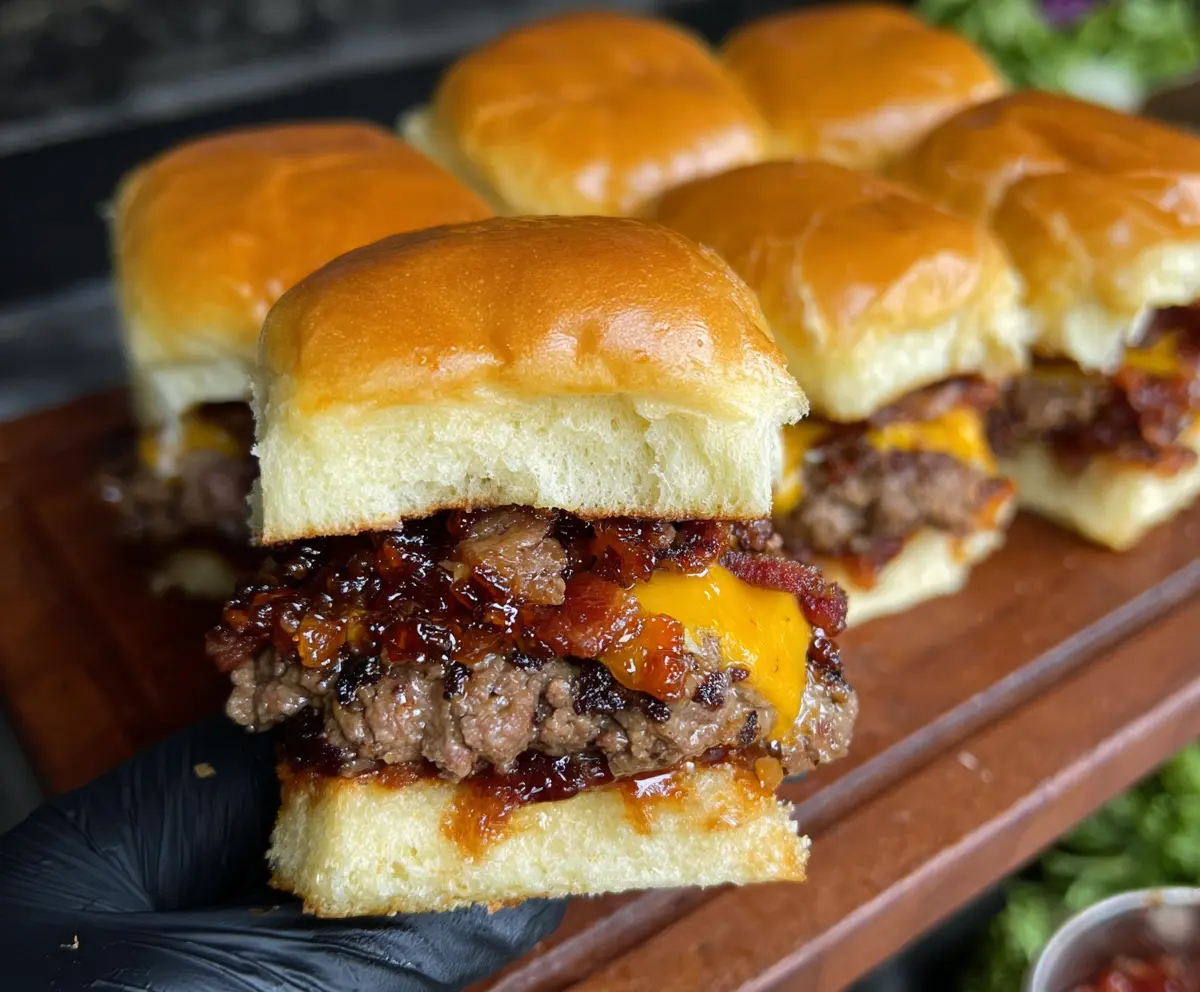
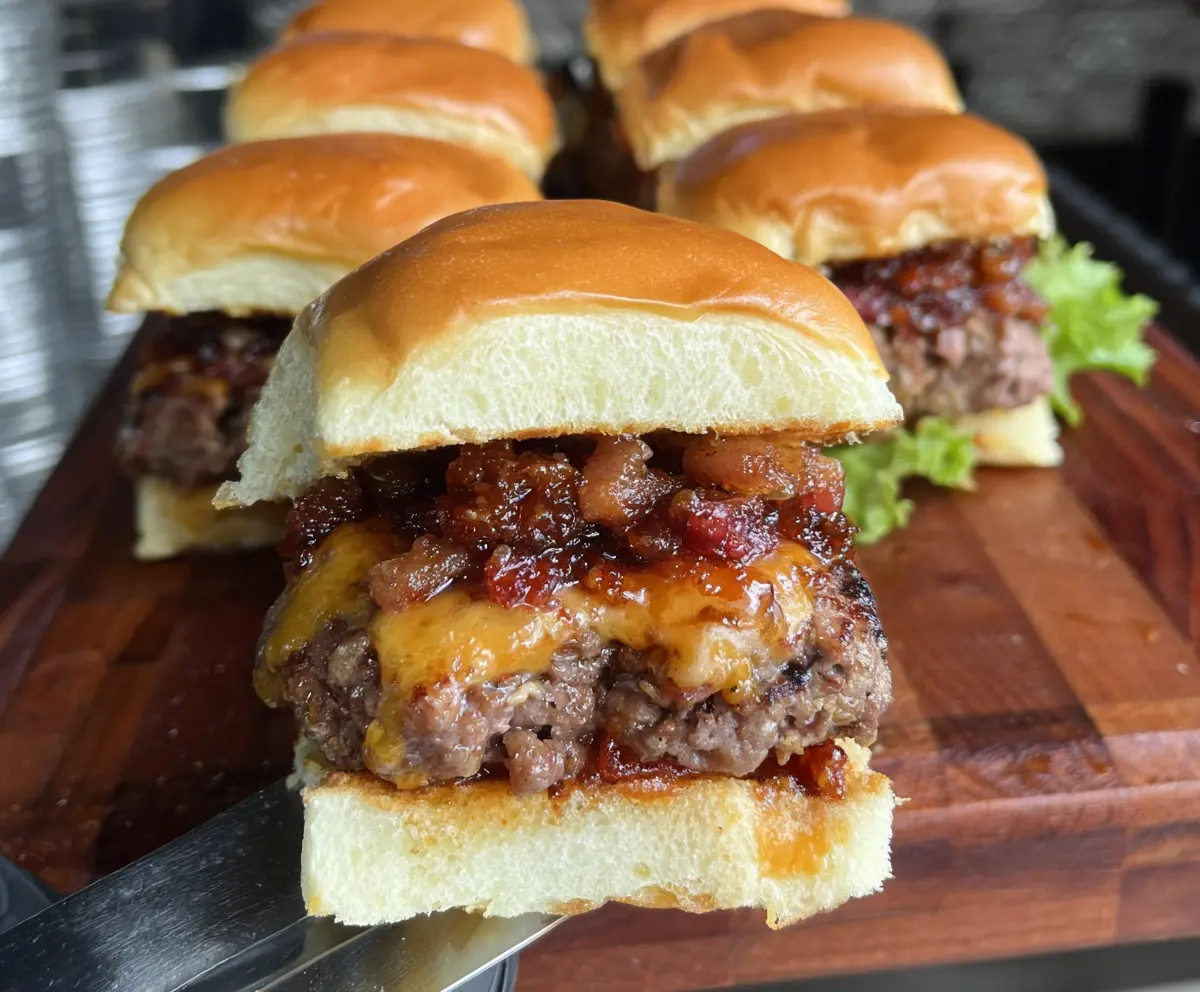
These Bacon Jam Cheeseburger Sliders are mini burgers that pack a flavorful punch! They’re topped with a sweet and savory bacon jam that will make your taste buds dance.
Who doesn’t love a good slider? They’re perfect for parties, or just a fun night at home. I always end up eating way too many, but hey, they’re tiny! 🍔
The best part is how easy they are to make. Just cook the bacon, mix it into the jam, and pile everything on soft buns. Simple, tasty, and always a hit!
Key Ingredients & Substitutions
Ground Beef: Using 80/20 ground beef ensures juicy patties. If you’re looking for a leaner option, you can use 90/10 ground beef, just be mindful that it may be less juicy. For a twist, try ground turkey or chicken as a lighter alternative.
Bacon: Bacon is the star for the jam! I love using thick-cut bacon for extra flavor. If you want a healthier option, turkey bacon can work but won’t have the same richness.
Cheddar Cheese: Sharp cheddar adds great flavor. If you’re not a fan, try using Monterey Jack or American cheese for a milder taste. Vegan cheese is a good substitute for a dairy-free option, but make sure it melts well!
Maple Syrup & Balsamic Vinegar: These add sweetness and acidity to the bacon jam. You can swap maple syrup for honey or agave nectar if needed. Red wine vinegar works in place of balsamic if that’s what you have on hand.
How Do I Make the Perfect Bacon Jam?
Making bacon jam can seem tricky, but following these steps will give you rich, tasty results. The key is to let it simmer and develop flavors.
- Start by cooking the bacon until crispy, then set it aside but keep some bacon fat for flavor.
- Caramelizing the onions brings out their natural sweetness. Don’t rush this part; it usually takes about 10 minutes.
- Add garlic only in the last minute to prevent it from burning.
- When you add all the ingredients for the jam, be patient! Let it simmer on low, stirring occasionally until it thickens. This can take around 15-20 minutes.
Once it cools, the jam thickens more, so don’t worry if it seems runny at first! Enjoy your homemade bacon jam on sliders or even as a topping for breakfast dishes!
Bacon Jam Cheeseburger Sliders
Ingredients:
- 1 lb ground beef (80/20 for juicier patties)
- Salt and black pepper, to taste
- 6 slider buns, split and buttered
- 6 slices sharp cheddar cheese
- 8 slices bacon
- 1 small yellow onion, finely chopped
- 2 cloves garlic, minced
- 1/4 cup brown sugar, packed
- 1/4 cup balsamic vinegar
- 1/4 cup brewed coffee (optional for depth)
- 1 tbsp maple syrup (optional)
- 1 tbsp Dijon mustard
Time Needed:
This delicious recipe takes about 45 minutes to prepare. You’ll spend about 15 minutes making the bacon jam and about 10-15 minutes cooking the patties. Don’t forget that there’s a bit of cooling time for the jam, making sure everything melds in together perfectly!
Instructions:
1. Make the Bacon Jam:
In a skillet over medium heat, cook the bacon until it’s crispy. Once done, remove the bacon and let it drain on paper towels. Keep about 1-2 tablespoons of bacon fat in the skillet for flavor.
2. Cook the Onions and Garlic:
Add the chopped onion to the skillet and let it cook until it softens and turns caramelized; this will take about 10 minutes. After that, add the minced garlic and cook for an additional minute until fragrant.
3. Combine Ingredients for the Jam:
Chop the crispy bacon into small pieces and return it to the skillet. Stir in brown sugar, balsamic vinegar, brewed coffee (if using), maple syrup (if using), and Dijon mustard. Mix everything well.
4. Simmer for Flavor:
Let this mixture simmer on low heat, stirring occasionally, until it thickens and reaches a jam-like consistency—this usually takes about 15-20 minutes. Once it’s done, set it aside.
5. Form the Patties:
While the jam is cooking, divide the ground beef into 6 equal portions and gently shape each into slider-size patties. Make them slightly bigger than your buns since they’ll shrink when cooked. Don’t forget to season both sides with salt and pepper!
6. Cook the Patties:
Preheat a grill or skillet over medium-high heat. Cook the patties for about 3 minutes on each side, or until they reach your preferred doneness. During the last minute of cooking, place a slice of cheddar cheese on top of each patty to let it melt.
7. Toast the Buns:
Lightly butter the split slider buns and toast them on the grill or skillet until they’re golden brown.
8. Assemble the Sliders:
Time to put it all together! Place the cheeseburger patties on the bottom halves of the toasted buns, then spoon a generous amount of bacon jam over each patty. Finally, place the top buns on to finish them off!
9. Serve and Enjoy:
Serve these warm and enjoy the flavors of your delicious Bacon Jam Cheeseburger Sliders. They’re perfect for parties, game day, or just a fun night in!
With juicy cheeseburgers and a rich, sweet, and smoky bacon jam, these sliders are sure to be a crowd-pleaser. Dig in!
Can I Prepare the Bacon Jam in Advance?
Absolutely! You can make the bacon jam a day or two ahead of time and store it in an airtight container in the refrigerator. Just reheat it gently on the stove before assembling your sliders.
What Can I Substitute for Bacon?
If you want a vegetarian option, you can use smoked mushrooms or tempeh bacon for a similar smoky flavor. If you’re looking for a low-fat alternative, turkey bacon works, but it won’t have the same depth of flavor.
How Do I Store Leftovers?
Any leftover sliders can be stored in an airtight container in the refrigerator for up to 2 days. To reheat, place the sliders in the oven at 350°F (175°C) for about 10 minutes or until warmed through.
Can I Freeze the Sliders?
Yes, you can freeze the assembled sliders! Wrap them tightly in plastic wrap and place them in a freezer-safe bag. They should be consumed within a month for the best quality. To reheat, simply thaw in the fridge overnight and warm in the oven.