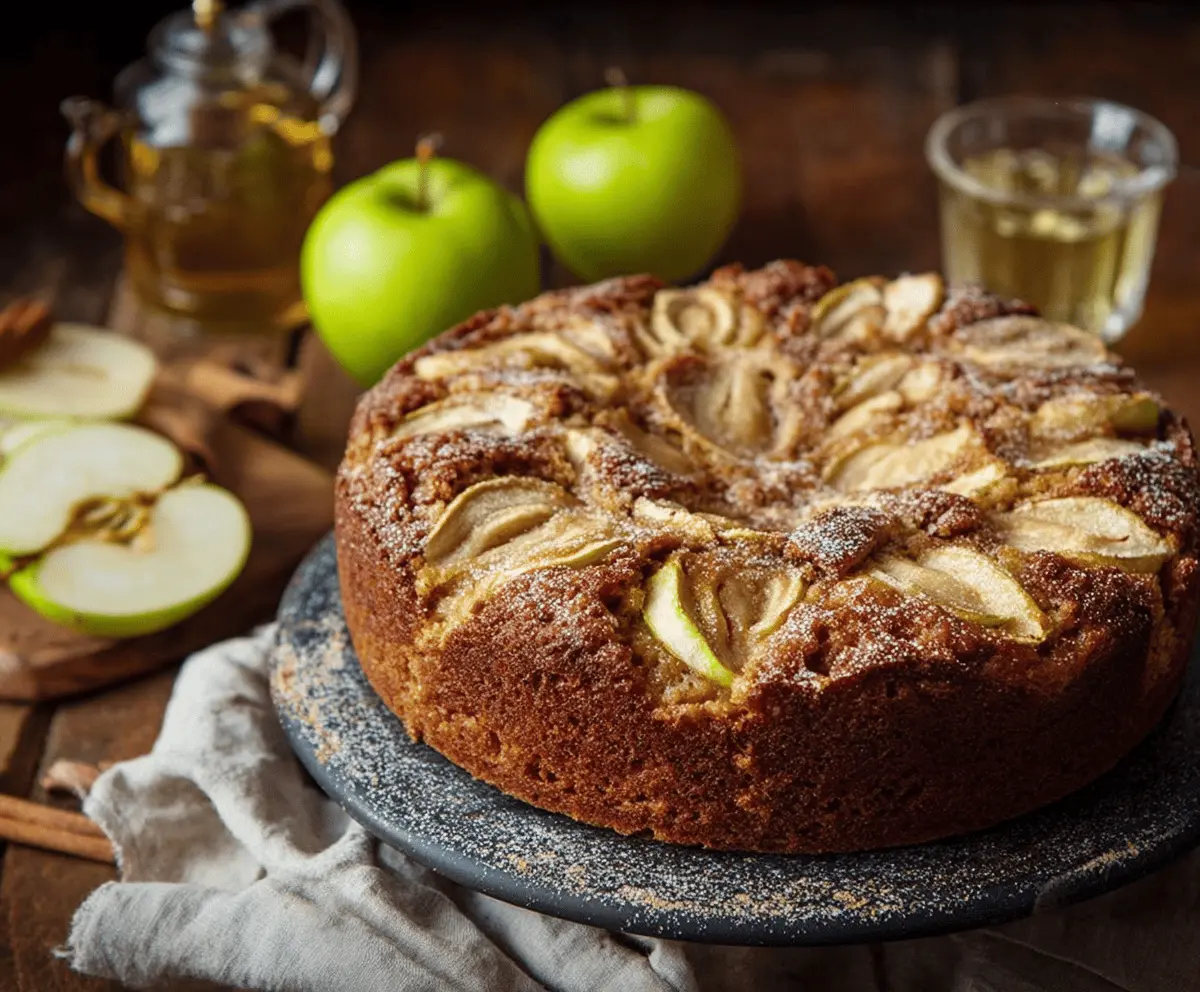
This Apple Cider Cake is a warm and cozy treat, perfect for fall! It’s packed with real apple cider and spices, making every bite deliciously sweet and flavorful.
Baking this cake fills your kitchen with a lovely aroma that makes everyone curious. I love serving it with a scoop of ice cream—it’s the perfect snack or dessert!
Key Ingredients & Substitutions
All-Purpose Flour: This is the foundation for your cake. If you’re aiming for a gluten-free version, use a 1:1 gluten-free flour blend. I find that such blends usually work well in cakes like this.
Apple Cider: Look for unfiltered apple cider for the best flavor. If you can’t find it, apple juice is a good substitute, but it will be a bit sweeter. Always taste it first to see how you might adjust the sugar in your recipe!
Butter: Unsalted butter is preferred as it lets you control the saltiness. You could use coconut oil for a dairy-free option, just ensure it’s melted first.
Apples: Granny Smith apples add a nice tartness and balance the sweetness. If you prefer sweeter apples, Honeycrisp or Fuji work great too. Don’t be afraid to mix types of apples for added flavor!
Buttermilk: If you don’t have buttermilk, mix plain yogurt with a splash of milk or vinegar. This can provide the same acidity needed for your cake.
How Do I Make Sure My Cake is Perfectly Fluffy?
Ensuring your cake turns out fluffy is all about the creaming process and careful mixing. Here’s how to do it right:
- Start with softened butter; it should be at room temperature.
- Beat the butter and sugar until it’s light and airy, which can take 3-5 minutes. This step incorporates air, crucial for fluffiness!
- Add the eggs one at a time. Make sure each egg is fully mixed in before adding the next.
- When you’re adding the dry ingredients, mix just until they’re combined. Overmixing can lead to a dense cake.
Taking your time with these steps will make a difference. Trust the process, and you’ll end up with a delightful Apple Cider Cake!
Apple Cider Cake
Ingredients You’ll Need:
For the Cake:
- 2 cups all-purpose flour
- 1 1/2 teaspoons baking powder
- 1/2 teaspoon baking soda
- 1/2 teaspoon salt
- 1 1/2 teaspoons ground cinnamon
- 1/4 teaspoon ground nutmeg
- 1/4 teaspoon ground ginger
- 1/2 cup unsalted butter, softened
- 1 cup granulated sugar
- 2 large eggs
- 1 teaspoon vanilla extract
- 2/3 cup apple cider (unfiltered if possible)
- 1/4 cup buttermilk or plain yogurt
- 2 medium apples (such as Granny Smith), thinly sliced
- Powdered sugar, for dusting
How Much Time Will You Need?
This delightful Apple Cider Cake will take about 20 minutes to prepare and approximately 45-55 minutes to bake. Make sure to let it cool before serving, which can take another 10-15 minutes. In total, you’ll have a scrumptious cake ready to enjoy in about 1.5 hours!
Step-by-Step Instructions:
1. Preheat the Oven:
Start by preheating your oven to 350°F (175°C). While it’s warming up, take an 8 or 9-inch round cake pan and grease it with butter or cooking spray. Then, sprinkle some flour in the pan and tap it around to coat the sides and bottom. This will help your cake come out easily later!
2. Mix the Dry Ingredients:
In a medium bowl, whisk together the flour, baking powder, baking soda, salt, cinnamon, nutmeg, and ginger. Make sure everything is well combined, then set the bowl aside for a moment.
3. Cream Butter and Sugar:
In a large bowl, use an electric mixer to cream the softened butter and granulated sugar together. Mix them until the mixture is light and fluffy—this usually takes about 3-5 minutes. It’s a great technique for making cakes rise nicely!
4. Add the Eggs and Vanilla:
Next, add the eggs to the butter and sugar mixture one at a time, beating well after each addition. Don’t forget to stir in the vanilla extract after the eggs are mixed in!
5. Combine Wet Ingredients:
Now, in a separate bowl, combine the apple cider and buttermilk (or yogurt). This will add moisture and flavor to the cake.
6. Merge Dry and Wet Ingredients:
Gradually add the dry ingredients to the butter mixture, alternating with the apple cider mixture. Start and end with the dry ingredients. Mix just until everything is combined; be careful not to overmix!
7. Pour the Batter:
Pour the cake batter into your prepared pan and smooth the top with a spatula to make it even. Now it’s time for the apples!
8. Add Apple Slices:
Arrange the thinly sliced apples evenly over the top of the batter, gently pressing them in a bit. This adds a lovely touch and flavor to the cake!
9. Bake the Cake:
Place your cake in the preheated oven and bake for 45-55 minutes. Check for doneness by inserting a toothpick into the center; it should come out clean when the cake is ready.
10. Cool the Cake:
Once baked, let the cake cool in the pan for about 10 minutes. After that, carefully remove it from the pan and place it on a wire rack to cool completely. This step is important because it allows the cake to finish setting up.
11. Serve and Enjoy:
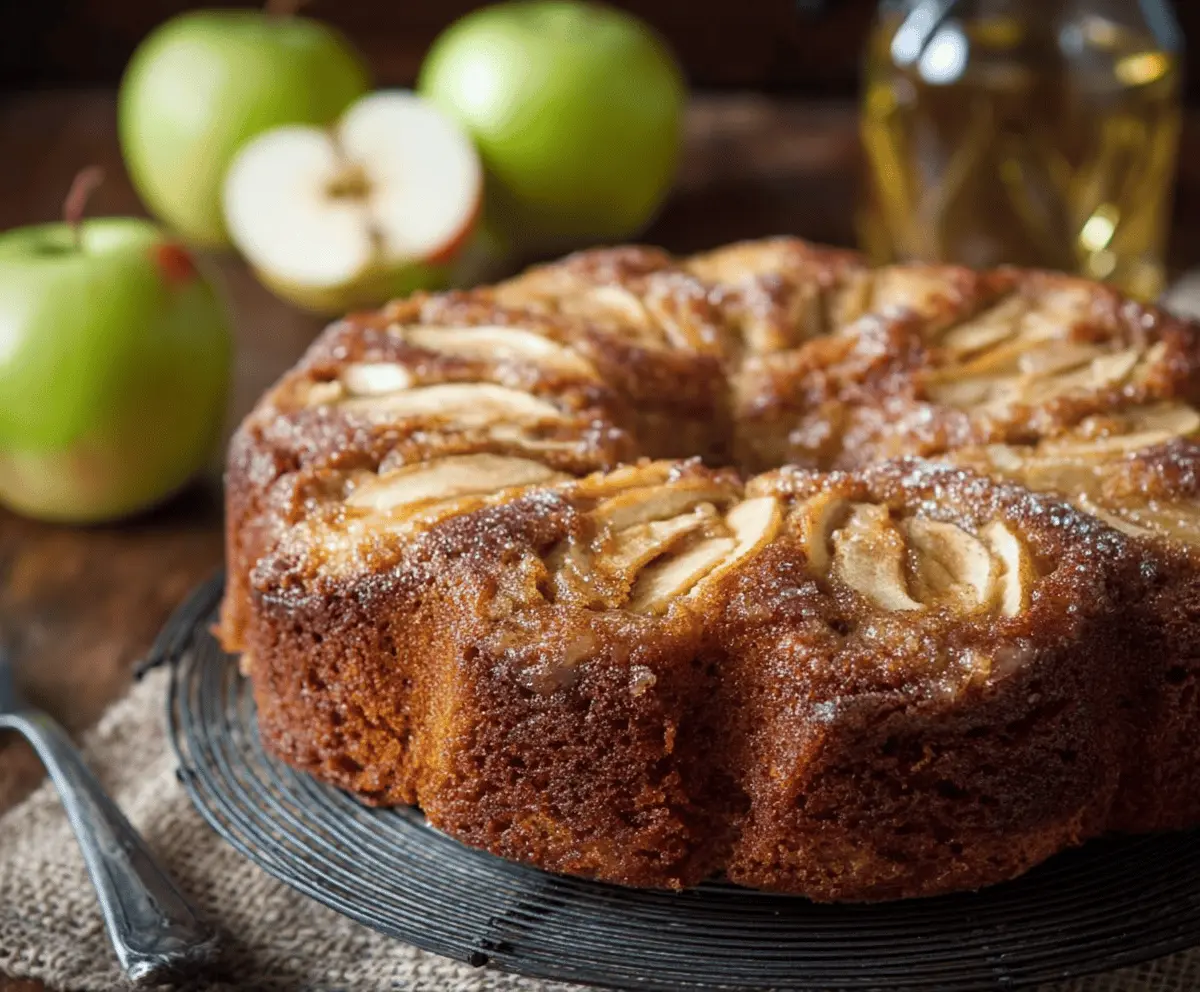
Before serving, dust the top of your cooled cake with powdered sugar for that sweet finishing touch. Slice, serve, and enjoy your delicious Apple Cider Cake, preferably with a warm drink!
This cake is not only moist and flavorful but also perfect for gatherings or a cozy evening treat. Happy baking!
Can I Use Store-Bought Apple Cider Instead of Fresh?
Absolutely! Store-bought apple cider works perfectly in this recipe. Just make sure to choose unfiltered cider for the best flavor. If it’s sweetened, you might want to adjust the amount of sugar in the recipe accordingly.
What If I Don’t Have Buttermilk?
No problem! You can substitute buttermilk with plain yogurt mixed with a little milk or vinegar. Simply combine 1/4 cup of yogurt with enough milk to reach a total of 1/4 cup, or use 1 tablespoon of vinegar mixed with regular milk to achieve a similar effect.
How Should I Store Leftovers?
Store any leftover cake in an airtight container at room temperature for up to 3 days. If you want to keep it fresh for longer, you can refrigerate it for about a week. Just make sure to bring it back to room temperature before serving for the best flavor!
Can I Freeze This Cake?
Yes! You can freeze the unglazed cake for up to 3 months. Wrap it tightly in plastic wrap and then foil to prevent freezer burn. When you’re ready to enjoy it, let it thaw in the fridge overnight, then dust with powdered sugar before serving.