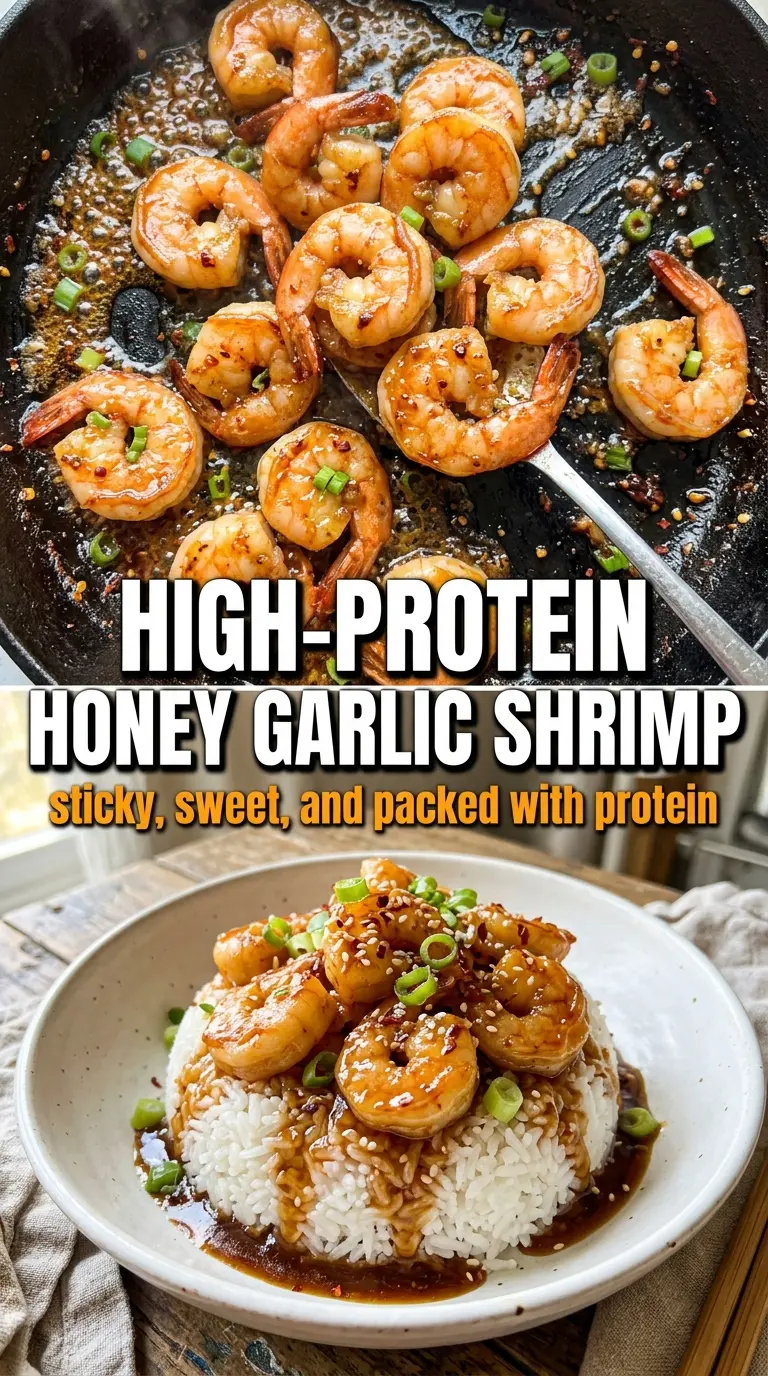
Sticky honey garlic shrimp lands on the table fast, but it still tastes like you spent real time building layers of flavor. The shrimp stay plump and tender, the sauce turns glossy and clingy instead of watery, and the garlic gets just enough heat to perfume the whole skillet without burning. Over rice, it’s one of those dinners that disappears before you’ve even put the pan in the sink.
The key here is keeping the shrimp dry and the pan hot. Wet shrimp steam instead of sear, and a lukewarm skillet gives you gray, rubbery edges before the inside is done. Once the shrimp come out, the sauce comes together in the same pan, where the little browned bits left behind give the glaze more depth than mixing everything in a bowl ever could.
Below, I’ve included the timing cues that keep the shrimp tender, plus a few smart swaps if you want to serve it over broccoli, make it gluten-free, or stretch it into a meal prep lunch for the week.
The shrimp stayed juicy and the sauce thickened up in just a couple of minutes. I served it over jasmine rice and my husband said it tasted like takeout, only fresher.
Like this honey garlic shrimp? Save it to Pinterest for a fast protein-packed dinner with a sticky glaze and almost no cleanup.
The Difference Between Glossy Shrimp and Burnt Syrup
Honey is forgiving in small amounts, but it turns on you fast once the pan gets too hot. The mistake most people make is letting the sauce boil hard after the shrimp go back in. That pushes the honey past glossy and into sticky, gritty syrup territory, and the garlic can pick up a bitter edge.
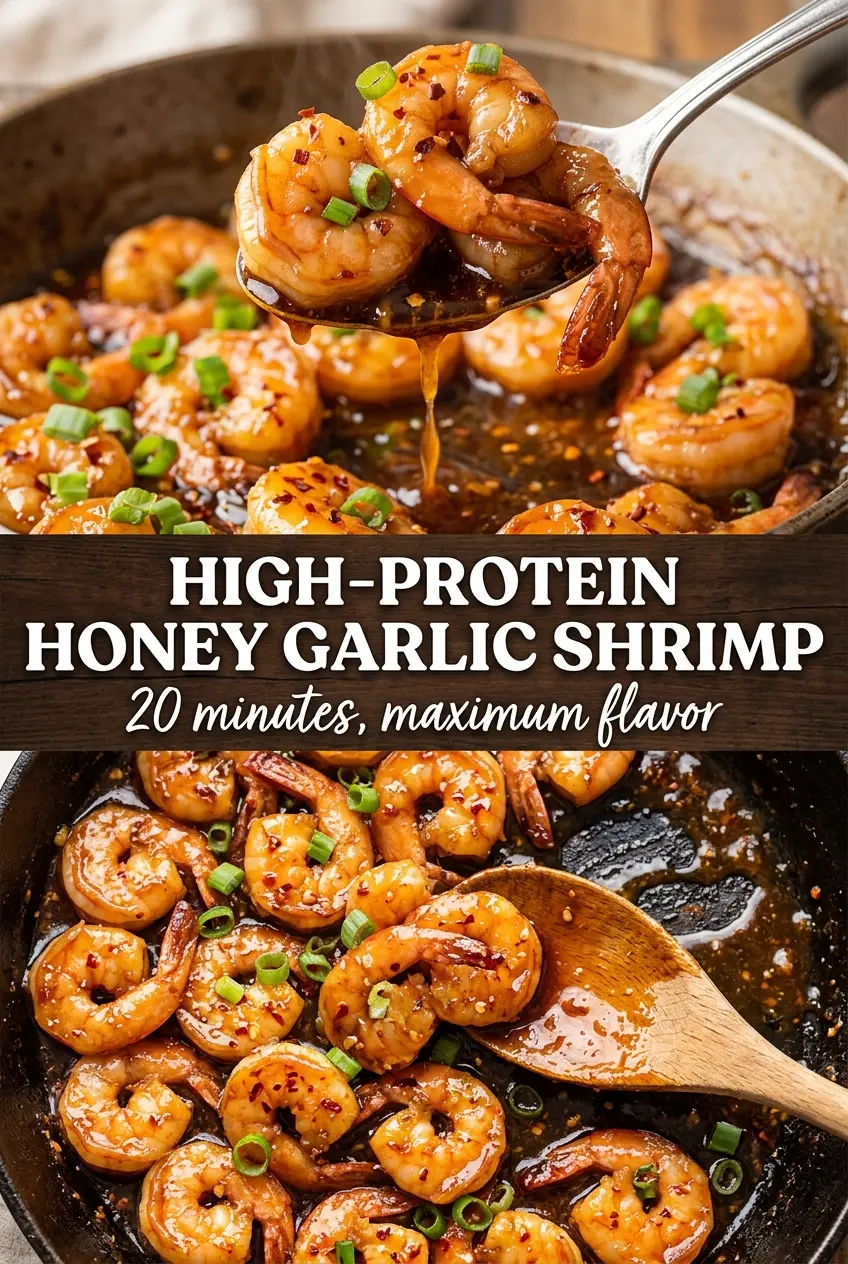
The better move is to keep the sauce at a gentle simmer and pull the shrimp back into the pan only after it has started to thicken. You’re looking for a sauce that coats the back of a spoon and leaves a thin trail when you drag a spatula through it. That’s the moment when it will cling to the shrimp instead of sliding off and pooling at the bottom of the bowl.
- Dry shrimp — Paper towels matter here. Extra surface moisture steals browning and waters down the sauce.
- Honey — This is what gives you the lacquered finish. Maple syrup can work in a pinch, but the flavor will be less classic and a little less sticky.
- Low-sodium soy sauce — It keeps the glaze savory without making it salty too quickly. Regular soy sauce is fine if you hold back on added salt.
- Lemon juice — The acid keeps the sweetness from tasting flat. Fresh juice is worth using because bottled lemon can taste dull in a sauce this simple.
What Each Ingredient Is Actually Doing in the Pan
- Large shrimp — Bigger shrimp stay juicier and are easier to cook without overdoing them. If you use smaller shrimp, cut the first-side cook time back by a minute because they go from tender to tough fast.
- Olive oil — You need enough oil to help the shrimp sear instead of stick. A neutral oil works too, but olive oil gives the dish a fuller, slightly richer finish.
- Garlic — Fresh garlic is the backbone of the sauce. Pre-minced garlic can work, but it burns faster and loses some of the sharp, fragrant lift that makes this dish taste alive.
- Red pepper flakes — They don’t make the dish hot-hot; they wake up the honey. If you want more heat, add an extra pinch at the end rather than overloading the pan early.
- Sesame seeds and green onions — These are more than garnish. The sesame adds a nutty note and the scallions bring freshness that keeps the glaze from feeling heavy.
Getting the Shrimp in and the Sauce Finished Before It Overcooks
Patting the Shrimp Dry
Start with shrimp that are peeled, deveined, and patted dry until they feel tacky instead of wet. Season them lightly with salt and pepper, then stop there; too much seasoning before the sauce goes in can push the finished dish over the salty edge. Dry shrimp hit the skillet with a little sizzle and pick up color fast.
Searing in a Single Layer
Heat the oil until it shimmers, then add the shrimp in one layer. If they overlap, they steam and you lose that quick golden edge that makes the finished dish taste cooked, not just warmed through. Cook them for 1 to 2 minutes per side until they’re pink, opaque, and just curled into a loose C shape.
Building the Glaze in the Same Pan
Pull the shrimp out as soon as they’re done. In the same skillet, add the garlic and stir for about 30 seconds, just until it smells sweet and sharp; if it turns brown, the pan is too hot and the sauce will taste bitter. Add the honey, soy sauce, lemon juice, and red pepper flakes, then simmer until the sauce looks slightly thicker and glossy.
Bringing It All Together
Return the shrimp to the pan and toss quickly, just long enough to coat every piece. The shrimp only need a minute in the sauce to warm through and soak up the glaze; any longer and they start tightening up. Serve immediately over rice or broccoli, then finish with sesame seeds and sliced green onions while the sauce is still shiny.
Ways to Stretch, Lighten, or Adapt the Glaze
Gluten-Free Swap
Use tamari or a certified gluten-free soy sauce in place of regular soy sauce. The sauce still reduces the same way, and the flavor stays balanced. This is the cleanest swap because it doesn’t change the glaze texture at all.
Lower-Sugar Version
Cut the honey to 2 tablespoons and add an extra splash of lemon juice to keep the sauce from tasting flat. The glaze will be a little looser and less sticky, but it still clings well if you simmer it until it lightly coats a spoon.
Make It a Bigger Dinner
Serve the shrimp over steamed broccoli and rice, or toss in snap peas and thin-sliced bell pepper right after the garlic cooks. The vegetables soak up the extra sauce and turn this into a fuller meal without changing the core method.
Dairy-Free Protein Bowl
This recipe is already dairy-free, which makes it an easy fit for a protein bowl with rice, broccoli, or cauliflower rice. The shrimp give you the protein hit, and the sauce brings enough richness that you don’t miss butter or cream at all.
Storage and Reheating
- Refrigerator: Store leftovers in an airtight container for up to 2 days. The shrimp will firm up a little as they sit, so don’t expect the same just-cooked texture.
- Freezer: I don’t recommend freezing this dish. Cooked shrimp get mealy after thawing, and the glaze can separate when reheated.
- Reheating: Warm gently in a skillet over low heat with a splash of water to loosen the sauce. The common mistake is blasting shrimp in the microwave until they turn rubbery.
Answers to the Questions Worth Asking
High-Protein Honey Garlic Shrimp
Ingredients
Equipment
Method
- Pat the shrimp dry with paper towels and season lightly with salt and black pepper.
- Heat the olive oil in a large skillet over medium-high heat until shimmering.
- Add the shrimp in a single layer and cook for 1–2 minutes per side, until pink and opaque, then remove and set aside.
- In the same pan, add the minced garlic and cook for 30 seconds.
- Add the honey, soy sauce, lemon juice, and red pepper flakes, then stir until fully combined.
- Simmer the sauce for 1–2 minutes until slightly thickened, using a glossy, amber look as your visual cue.
- Return the shrimp to the pan and toss to coat, until the glaze clings to the shrimp.
- Serve immediately over cooked rice or steamed broccoli, garnished with sesame seeds and sliced green onions.