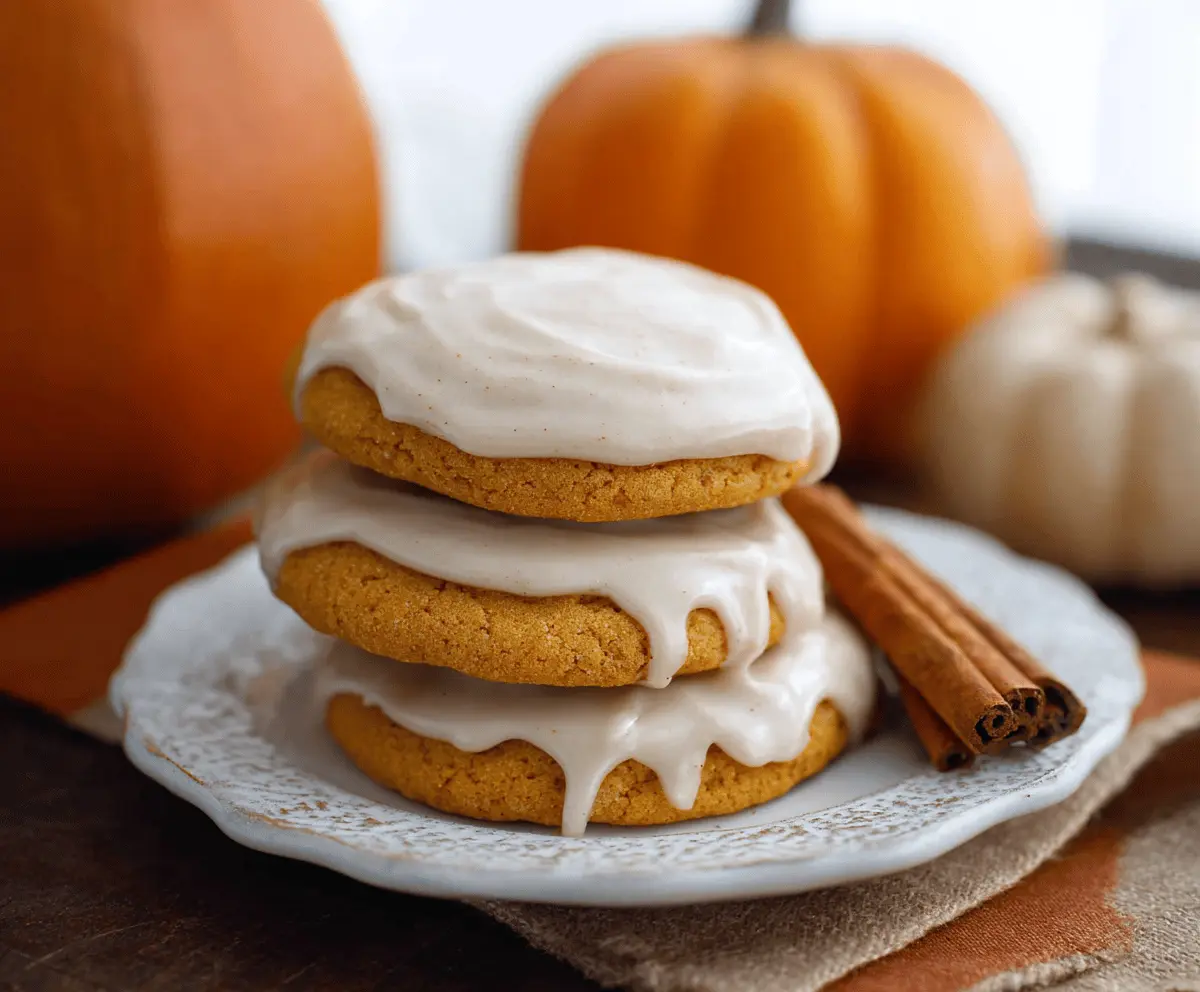
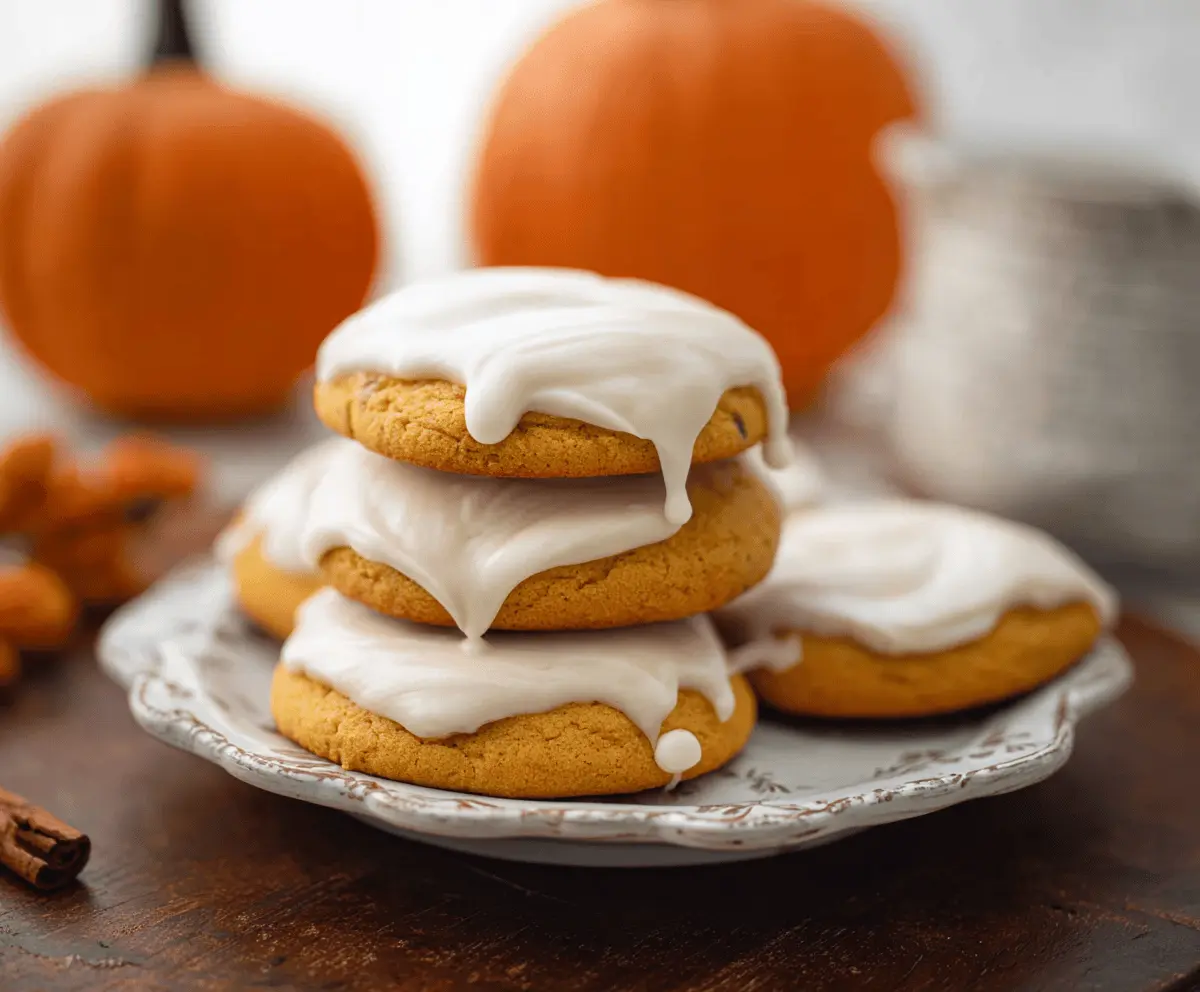
These Pumpkin Frosted Cookies are soft and fluffy, bringing all the warm flavors of fall right to your mouth. Topped with a creamy frosting, they’re perfect for any sweet tooth!
I love baking these cookies during pumpkin season; they fill my kitchen with a cozy smell! Plus, they disappear quick—better grab one before they’re all gone! 🎃🍪
Key Ingredients & Substitutions
Canned Pumpkin Puree: This is key for moisture and flavor. You can substitute it with homemade pumpkin puree, just make sure it’s pure and without added ingredients.
Butter: Unsalted butter is used here for better control over the saltiness. You could swap it for coconut oil for a dairy-free option, though it will change the flavor slightly.
Flour: All-purpose flour works well, but if you’re looking for gluten-free, almond flour or a 1:1 gluten-free blend can be used. Just adjust the amount as necessary!
Spices: The spices give this cookie its warm flavor. Feel free to increase the spices for a stronger flavor or use a pre-mixed pumpkin spice blend.
Cream Cheese: For frosting, cream cheese adds richness. If dairy-free, try a vegan cream cheese alternative that works well for baking.
How do I Ensure My Cookies Are Soft and Chewy?
To get that soft and chewy texture, don’t overmix the dough once you combine the wet and dry ingredients. That’s a tip I’ve learned over time—mix just until everything is combined! Here’s how to help with texture:
- Use softened butter, which blends easily into the sugars, creating air pockets for fluffiness.
- Don’t skip on chilling the dough if it’s too sticky; it helps the cookies hold their shape in the oven.
- Keep an eye on baking time—pull the cookies when the edges look set but the center might still seem a bit soft. They will firm up as they cool.
How to Make Pumpkin Frosted Cookies
Ingredients You’ll Need:
For the Cookies:
- 1 cup canned pumpkin puree
- 1 cup granulated sugar
- 1/2 cup brown sugar, packed
- 1/2 cup unsalted butter, softened
- 1 large egg
- 1 teaspoon vanilla extract
- 2 cups all-purpose flour
- 1 teaspoon baking soda
- 1/2 teaspoon baking powder
- 1/2 teaspoon salt
- 1 teaspoon ground cinnamon
- 1/2 teaspoon ground ginger
- 1/4 teaspoon ground nutmeg
- 1/4 teaspoon ground cloves
For the Frosting:
- 4 oz cream cheese, softened
- 1/4 cup unsalted butter, softened
- 2 cups powdered sugar, sifted
- 1 teaspoon vanilla extract
- 1-2 tablespoons milk (optional for consistency)
How Much Time Will You Need?
This tasty treat will take about 20 minutes to prepare and 12-15 minutes to bake. You’ll need to let the cookies cool completely before frosting—so plan for about 1 hour for that. In total, expect to spend around 1.5 hours from start to finish, including cooling time!
Step-by-Step Instructions:
1. Preheat and Prepare:
Start by preheating your oven to 350°F (175°C). While it’s heating, take the time to line two baking sheets with parchment paper. This makes cleanup easier and prevents the cookies from sticking!
2. Make the Cookie Batter:
In a large mixing bowl, combine the softened butter, granulated sugar, and brown sugar. Use a hand mixer or a whisk to cream them together until the mixture is light and fluffy. This usually takes about 2-3 minutes.
3. Add Wet Ingredients:
Once creamy, mix in the canned pumpkin puree, egg, and vanilla extract until everything is well combined. This will make the batter nice and smooth!
4. Combine Dry Ingredients:
In a separate bowl, whisk together the flour, baking soda, baking powder, salt, and all the spices (cinnamon, ginger, nutmeg, and cloves). Mixing these dry ingredients first helps ensure even distribution of the leavening agents and spices in your cookies.
5. Mix It All Together:
Now, gradually add the dry ingredients to the wet mixture. Stir gently until just combined—don’t overmix; it’s okay if there are a few lumps!
6. Shape and Bake:
Drop spoonfuls of dough (about 2 tablespoons each) onto your prepared baking sheets, leaving about 2 inches of space between each cookie. Bake in the preheated oven for 12-15 minutes. You’ll know they’re ready when the edges are set and the tops are firm to the touch.
7. Cool the Cookies:
Once baked, take the cookies out of the oven and transfer them to a wire rack to cool completely. This is important, as warm cookies might melt the frosting!
8. Prepare the Frosting:
For the frosting, beat the softened cream cheese and butter together in a medium bowl until smooth and creamy. Gradually add in the powdered sugar and vanilla extract. Mix until fluffy! If the frosting is too thick, add a tablespoon or two of milk to reach your desired consistency.
9. Frost and Enjoy:
Once the cookies are cool, spread a generous amount of frosting on each cookie. Let them sit for a little while so the frosting can set slightly. And there you have it—your delicious pumpkin frosted cookies are ready to be enjoyed!
Can I Use Fresh Pumpkin Instead of Canned?
Absolutely! Just ensure that you cook and puree the pumpkin well, then measure out 1 cup. Keep in mind that fresh pumpkin may have slightly different moisture levels, so adjust other ingredients if needed.
What Can I Substitute for Cream Cheese in the Frosting?
If you don’t have cream cheese on hand, you can use mascarpone cheese or Greek yogurt for a tangy frosting. For a vegan option, try a dairy-free cream cheese alternative!
How Do I Store Leftover Cookies?
Store any leftover cookies in an airtight container at room temperature for up to 3 days. If you want to keep them longer, you can freeze them (frosted or unfrosted) for up to 3 months. Just remember to place parchment paper between layers to prevent sticking.
Can I Make the Cookies Ahead of Time?
Yes! You can prepare the cookie dough ahead of time and refrigerate it for up to 24 hours. When ready to bake, scoop out the dough and bake as instructed. You can also make the cookies ahead, freeze them, and frost them later when you’re ready to serve!