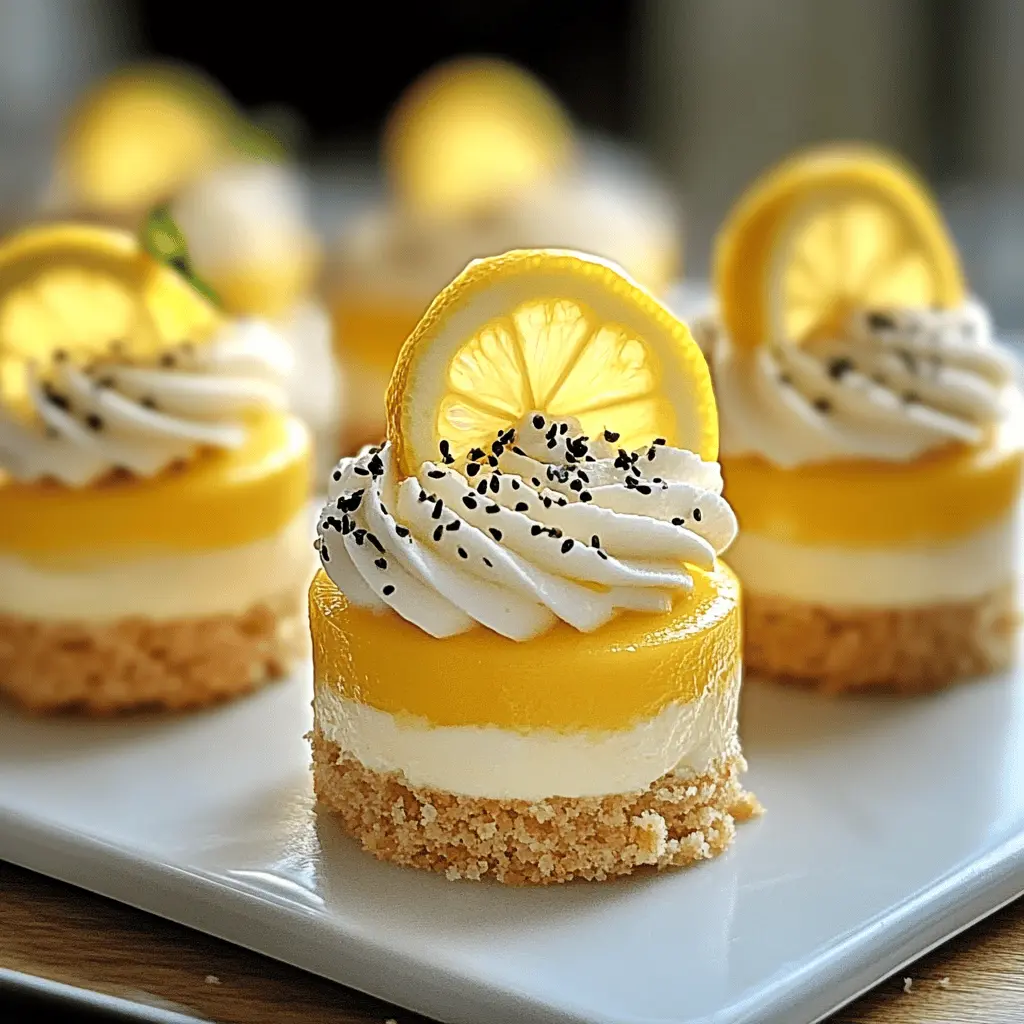
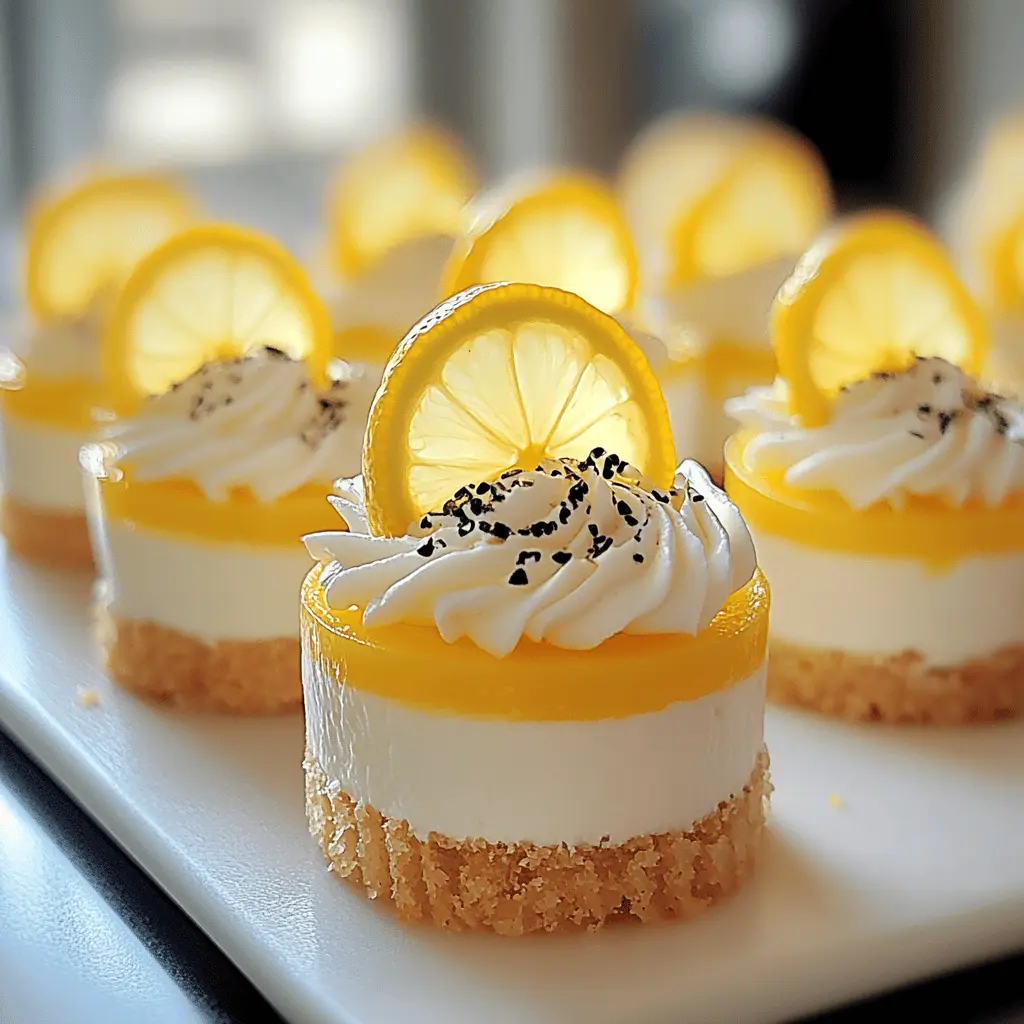
These cute mini lemon cheesecakes are like little bites of sunshine! With a creamy lemon filling on a graham cracker crust, they are zesty and sweet.
Perfect for parties or just a treat for yourself! I love how easy they are to make, and they always bring a smile with their bright flavor. 🍋
Key Ingredients & Substitutions
Graham Cracker Crumbs: They create the base for your crust, giving a nice crunch. If you don’t have them, you can use crushed digestive biscuits or even vanilla wafers for a different flavor.
Cream Cheese: This is the star of the filling. For a lighter version, try using reduced-fat cream cheese, but regular gives that classic cheesecake taste. If you’re dairy-free, you can find vegan cream cheese alternatives.
Sour Cream: It adds tanginess to the filling. If you’re out of sour cream, Greek yogurt makes a great substitute and even boosts protein content.
Lemon Juice & Zest: Freshly squeezed lemon juice is key for bright flavor—bottled lemon juice can work, but it won’t taste as fresh. Don’t skip the zest, as it really enhances the lemony taste.
Heavy Cream: For the topping, this leads to light and fluffy whipped cream. If you’d like to reduce fat, you can use half-and-half or a non-dairy whipped topping.
What’s the Best Way to Ensure Your Mini Cheesecakes Are Creamy?
Getting the right texture in your mini cheesecakes is important. Here’s how to make sure they come out creamy and delicious:
- Let the cream cheese soften at room temperature for at least 30 minutes before mixing. A warm cream cheese blends smoothly.
- Mix the filling on low speed until just combined. Overmixing can introduce too much air, leading to cracks.
- Baking at a lower temperature is key—325°F ensures slow cooking, resulting in a creamier texture. Keep an eye on them; they should jiggle just slightly in the center.
- Let the cheesecakes cool in the oven after baking. This helps prevent sudden temperature changes that can cause cracks.
How to Make Mini Lemon Cheesecakes
Ingredients You’ll Need:
For the Crust:
- 1 cup graham cracker crumbs
- 1/4 cup granulated sugar
- 1/2 cup unsalted butter, melted
For the Cheesecake Filling:
- 16 oz cream cheese, softened
- 1/2 cup granulated sugar
- 1 cup sour cream
- 1/4 cup lemon juice (freshly squeezed)
- Zest of 1 lemon
- 2 large eggs
- 1 teaspoon vanilla extract
For the Lemon Topping:
- 1 cup heavy cream
- 2 tablespoons powdered sugar
- Lemon slices (for garnish)
- Fresh mint leaves (for garnish)
- Poppy seeds (optional, for garnish)
How Much Time Will You Need?
You’ll need about 15 minutes to prepare everything and then about 25 minutes for baking. After that, you will have to chill the mini cheesecakes for at least 4 hours (or preferably overnight) to let them set. So, in total, plan for around 4 hours and 40 minutes, with most of that time just chilling in the fridge!
Step-by-Step Instructions:
1. Preheat the Oven:
First things first! Preheat your oven to 325°F (163°C) so it’s nice and hot when you’re ready to bake your mini cheesecakes.
2. Make the Crust:
Grab a mixing bowl and combine the graham cracker crumbs, granulated sugar, and melted butter. Use a fork to mix everything together until you have a nice, damp mixture. Now, press this mixture evenly into the bottom of your mini cheesecake molds or a muffin tin lined with cupcake liners.
3. Prepare the Cheesecake Filling:
In another large mixing bowl, beat the softened cream cheese with granulated sugar until it’s smooth and creamy. Then, add in the sour cream, lemon juice, lemon zest, eggs, and vanilla extract. Mix everything until it’s fully combined and smooth, just like a lovely creamy dream!
4. Fill the Molds:
Pour the cheesecake mixture over the crusts you just made, filling them almost to the top. Be careful not to overfill, as they might puff up a little while baking!
5. Bake:
Now it’s time to bake! Place the mini cheesecakes in your preheated oven and let them bake for about 20-25 minutes. You want the edges to be set, but the center should still be a bit jiggly. Once done, turn off the oven and let the cheesecakes cool inside for 1 hour.
6. Chill:
Remove the cheesecakes from the oven and allow them to cool down to room temperature. Once cooled, pop them in the refrigerator for at least 4 hours or overnight until they are completely set. The longer, the better!
7. Prepare the Topping:
While your cheesecakes are chilling, whip up the topping! In a mixing bowl, whip the heavy cream with powdered sugar until you get stiff peaks. This means when you lift the whisk out of the cream, it should hold its shape.
8. Decorate the Cheesecakes:
When it’s time to serve, gently remove the cheesecakes from their molds. Pipe the whipped cream on top of each cheesecake. For a pretty finish, add a lemon slice, fresh mint leaves, and a sprinkle of poppy seeds if you like!
9. Serve:
Finally, it’s time to dig in! Serve your mini lemon cheesecakes chilled and enjoy the refreshing, tangy goodness of this delightful treat!
Can I Substitute for Cream Cheese?
Yes! If you’re looking for a lighter option, you can use Neufchâtel cheese, which has less fat but a similar taste and texture. For a dairy-free version, try using a vegan cream cheese alternative. Just keep in mind that the flavor and consistency may vary slightly.
How Do I Store Leftover Mini Cheesecakes?
Store any leftovers in an airtight container in the refrigerator for up to 5 days. You can also freeze them for longer storage. Wrap each cheesecake tightly in plastic wrap and then place them in a freezer-safe container. Thaw in the fridge when you’re ready to enjoy them!
Can I Use Different Sweeteners?
Absolutely! If you prefer to use a sugar substitute, options like stevia or erythritol can work well. Just be sure to check the conversion ratios, as they can differ from granulated sugar. Taste and adjust the sweetness to your preference!
What If I Don’t Have Mini Molds?
No problem! You can use a regular muffin tin lined with paper liners, or even a 9-inch springform pan to make one larger cheesecake. Just adjust the baking time accordingly; a larger cheesecake will likely require about 35-40 minutes in the oven. Keep an eye on it, testing for doneness as the edges should be set while the center remains slightly jiggly.