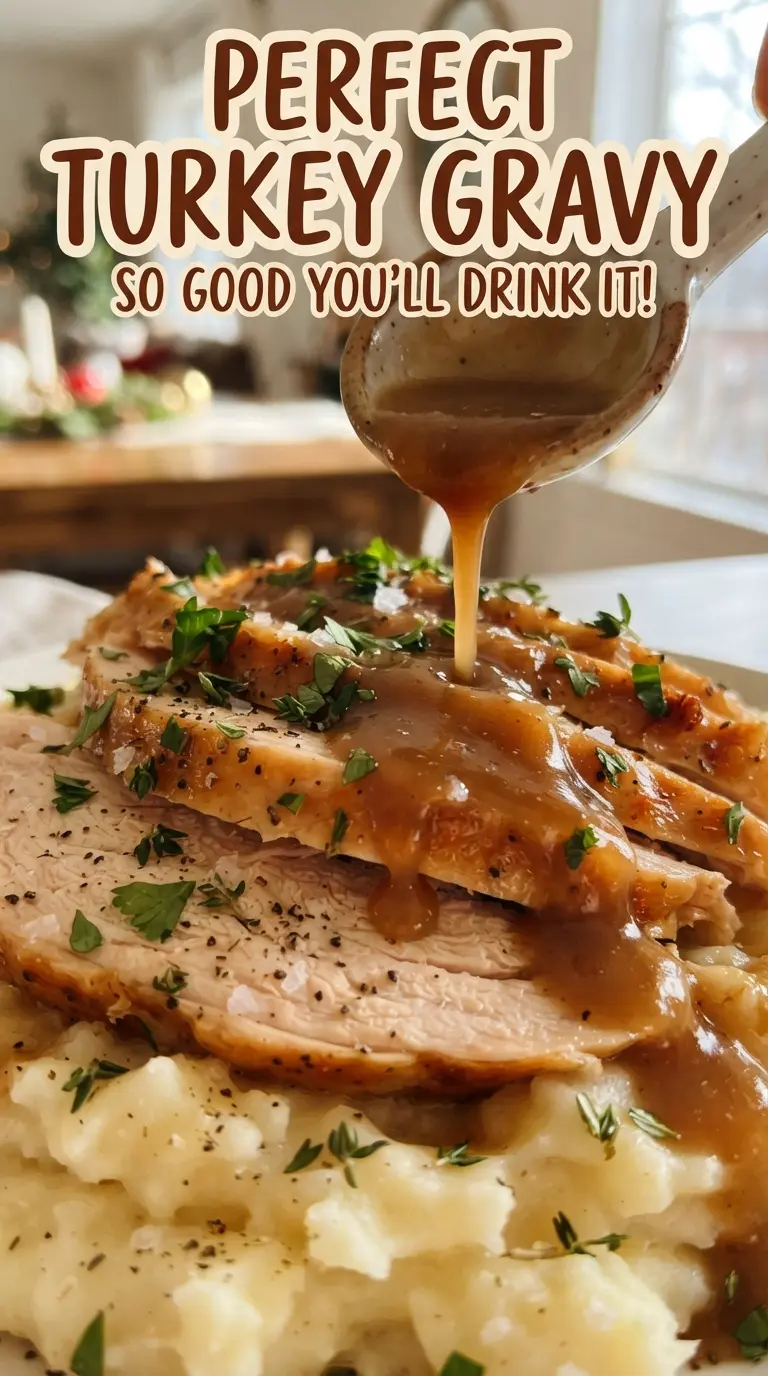
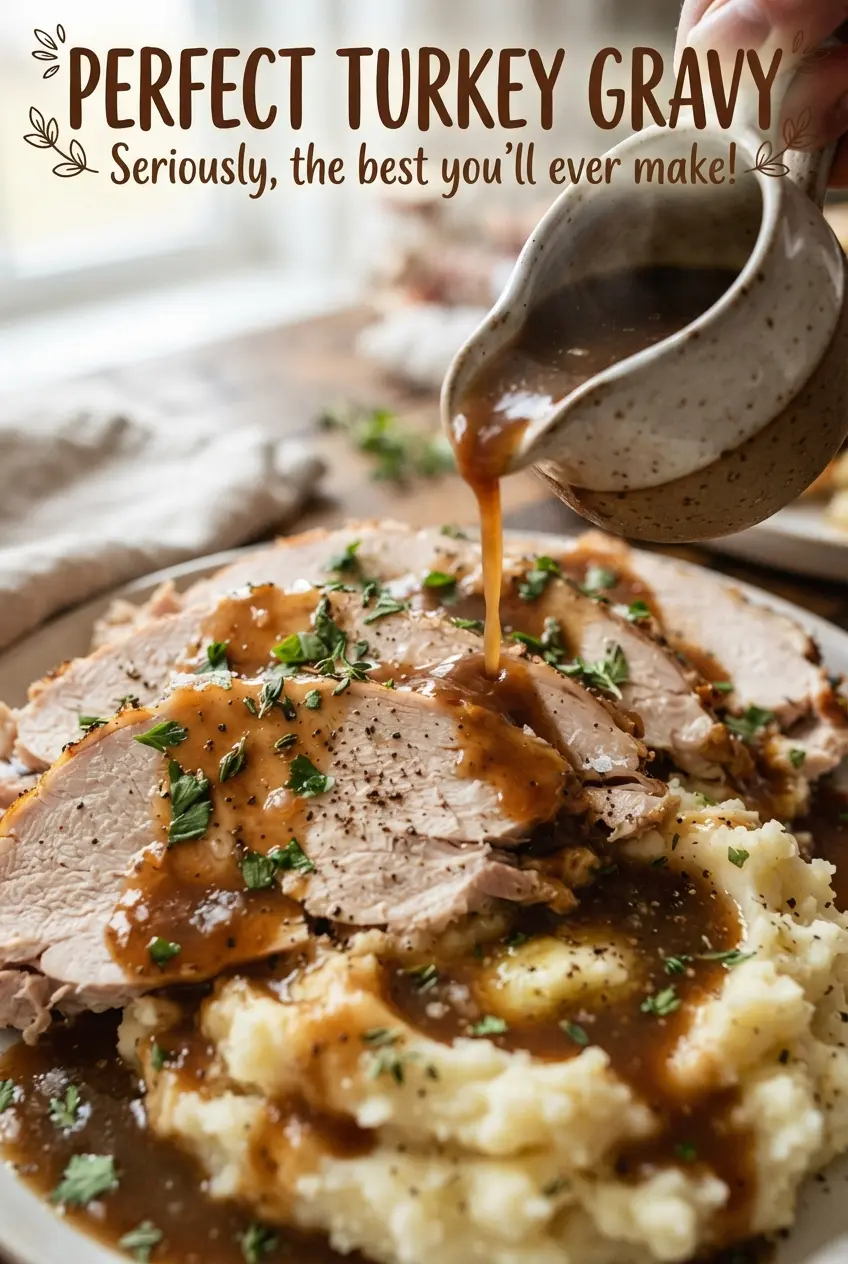
Silky turkey gravy is the thing that turns roasted turkey and mashed potatoes into a real holiday plate. When it’s done right, it pours in a slow ribbon, coats the back of a spoon, and brings every bite together with that deep roasted flavor you only get from the pan drippings. This version stays smooth, savory, and balanced, with just enough thyme and soy sauce to deepen the flavor without making it taste like anything but gravy.
The trick is starting with the fat from the roasting pan and cooking the flour long enough to lose its raw taste. That little extra minute or two in the roux matters. It keeps the gravy from tasting pasty and gives you a color that looks rich instead of pale. Warm stock also helps here, because cold liquid fights the roux and makes lumps harder to break up.
Below, I’ll show you how to use the drippings you already have, what to do if they’re short on fat, and how to keep the gravy smooth even if you need to strain it at the end. There’s also a storage tip for making it ahead, which takes a lot of pressure off when the rest of the meal is moving fast.
The gravy turned out silky and glossy with no lumps at all, and the thyme plus soy sauce gave it that deep roasted flavor I always wish store-bought gravy had.
Save this turkey gravy for the bird, the mashed potatoes, and anything else that needs a spoon-coating finish.
The Reason Turkey Gravy Stays Smooth Instead of Going Gluey
The biggest mistake with gravy is rushing the roux or pouring in cold stock too fast. Flour needs time in the fat to cook out its raw edge, and the stock needs to go in gradually so the starch can hydrate without clumping. If you dump everything together at once, you usually end up with tiny flour pockets that never fully disappear.
Another thing that helps here is using the roasting pan juices along with the stock. Those browned bits carry the most flavor, and deglazing them gives the gravy its turkey backbone. If your drippings are especially salty, hold back on seasoning until the end, because the gravy concentrates as it simmers.
- Turkey pan drippings — This is where the flavor starts. If you don’t have enough fat, use butter to make up the difference, but still add the defatted juices for the roasted meat flavor.
- Warm stock — Warm liquid blends into the roux much more cleanly than cold stock. Chicken stock works fine if turkey stock isn’t available, but use a good one because the gravy depends on it.
- Thyme — Fresh thyme gives a clean, savory finish. Dried thyme works in a pinch, but use about half as much because dried herbs read louder in gravy.
- Soy sauce — This doesn’t make the gravy taste Asian; it deepens the color and adds umami. It’s a small amount, but it makes plain stock taste rounder.
What Each Ingredient Is Actually Doing in This Recipe
- Primary ingredient (the star) — Quality matters most. Choose the best you can find.
- Cooking medium (oil, butter, or broth) — This carries flavors and prevents dryness.
- Seasonings (salt, pepper, spices, herbs) — Layer flavors so nothing overpowers. Build depth gradually.
- Aromatics (garlic, onion, herbs) — Cook with fat to bloom flavors. Become the foundation.
- Supporting ingredients — Complement the main ingredient without overpowering it.
- Sauce or liquid (if applicable) — Brings flavors together. Balance richness with acid.
- Acid (lemon, vinegar, wine, or other) — Brightens and prevents flat-tasting results.
- Final finish (garnish, glaze, or sauce) — Prevents one-dimensional taste and adds visual appeal.
How to Build the Roux and Finish the Gravy Without Lumps
Separating the Fat From the Juices
Pour the roasting pan drippings into a measuring cup and let them sit for a minute so the fat rises to the top. Spoon off 1/4 cup of that fat for the saucepan, then save the darker liquid underneath; that’s where the roasted flavor lives. If you skip this step and use all the drippings blindly, the gravy can end up greasy instead of rich.
Cooking the Flour Long Enough
Whisk the flour into the hot fat and cook it for 3 to 4 minutes over medium heat, whisking often, until it turns light golden brown. The mixture should smell nutty, not dusty. If it stays pale, the gravy can taste raw later, even after it thickens.
Whisking in the Stock the Right Way
Add the warm stock a little at a time, whisking until smooth after each addition, then pour in the reserved pan juices. The gravy will look thin at first, then start to thicken once it comes back to a simmer. If you add too much liquid too fast, break up any lumps with a whisk before they set.
Simmering to the Right Spoon-Coating Texture
Stir in the thyme and soy sauce, then simmer until the gravy coats a spoon, about 8 to 10 minutes. It should look glossy and slightly thickened, not pasty. If it gets thicker than you want, whisk in a splash of warm stock; if it feels too thin, give it another minute or two on the heat before seasoning.
Make It with Butter Instead of Pan Drippings
If your turkey didn’t give you enough fat, use unsalted butter for the full 1/4 cup. The gravy will still be smooth and rich, but it loses a little of that roasted depth, so the pan juices matter even more. Use a touch more soy sauce only if it tastes flat at the end.
Gluten-Free Gravy With a Cornstarch Slurry
Replace the flour roux with 2 tablespoons cornstarch mixed with 2 tablespoons cold stock, then whisk it into simmering drippings and stock at the end. The texture turns a little shinier and less velvety than a flour gravy, but it still thickens well. Don’t boil it hard or the starch can thin back out.
Dairy-Free and Naturally Lighter
This gravy is already dairy-free if you use turkey drippings instead of butter. To keep the flavor rounded, don’t skip the soy sauce or the pan juices, because they replace some of the richness people usually try to get from cream. The result is a cleaner-tasting gravy that still feels full.
Storage and Reheating
- Refrigerator: Store in an airtight container for up to 4 days. It will thicken as it chills.
- Freezer: Freezes well for up to 2 months, though the texture may need a good whisk after thawing. Freeze in a flat, sealed container for faster defrosting.
- Reheating: Warm it slowly over low heat with a splash of stock or water, whisking often. High heat can make it split or turn gluey before it loosens back up.
Questions I Get Asked About This Recipe
Perfect Turkey Gravy
Ingredients
Equipment
Method
- Pour the roasting pan drippings into a measuring cup and let the fat rise to the top, about 5 minutes, so you can skim off the fat.
- Spoon 1/4 cup of the fat into a saucepan over medium heat and whisk in the all-purpose flour to form a roux.
- Cook the roux for 3-4 minutes, whisking continuously, until it turns golden brown and looks smooth.
- Gradually whisk in the warm turkey or chicken stock along with the defatted pan juices until the gravy is smooth and no lumps remain.
- Add the fresh thyme leaves and soy sauce, then simmer for 8-10 minutes, whisking occasionally, until thick enough to coat a spoon.
- Season with salt and black pepper to taste; strain if desired for extra smoothness, then serve hot with turkey.