Green bean bundles hit that sweet spot between simple side dish and little centerpiece on the table. The beans stay bright and snappy, the bacon turns crisp at the edges, and the brown sugar garlic glaze settles into the pan with a sticky shine that catches on every bite. It’s the kind of dish people reach for first, then ask about before they’ve finished chewing.
The trick is in the blanching. A quick dip in boiling water softens the beans just enough so they finish in the oven at the same pace as the bacon without turning limp. The ice bath stops the cooking fast and keeps the color vivid. From there, the bundles bake seam-side down so they stay tight while the butter, sugar, garlic, and soy sauce melt together into a glaze that’s savory as much as it is sweet.
Below, you’ll find the timing detail that keeps the beans crisp, the bacon cooked through, and the glaze from sliding off into the pan. I’ve also included a few useful swaps and storage notes for making these ahead or stretching the recipe for a bigger meal.
The beans stayed crisp, the bacon browned up beautifully, and that brown sugar garlic glaze thickened right in the pan. I served these with roast chicken and there wasn’t a single bundle left.
These bacon-wrapped green bean bundles are the kind of side dish that disappears fast — save them for the holiday table or any dinner that needs a little sticky, savory drama.
The Blanching Step That Keeps the Beans Crisp Under the Bacon
Green beans can go two ways in the oven: bright and snappy, or dull and overcooked. The difference is the blanching. Three minutes in boiling water takes the raw edge off the beans so they finish tender without needing a long bake, and the ice bath locks in that fresh green color before the bacon goes on. Skip that part and the beans often end up wrinkled by the time the bacon is done.
The other detail that matters is bundle size. Eight to ten beans per bundle gives you enough body to hold the bacon in place without making a thick knot that takes forever to cook. If your beans are especially slender, use closer to ten; if they’re wide and sturdy, eight is enough. The goal is a tight bundle that bakes evenly and still feels like green beans when you bite into it.
What the Butter, Brown Sugar, and Soy Sauce Are Really Doing Here
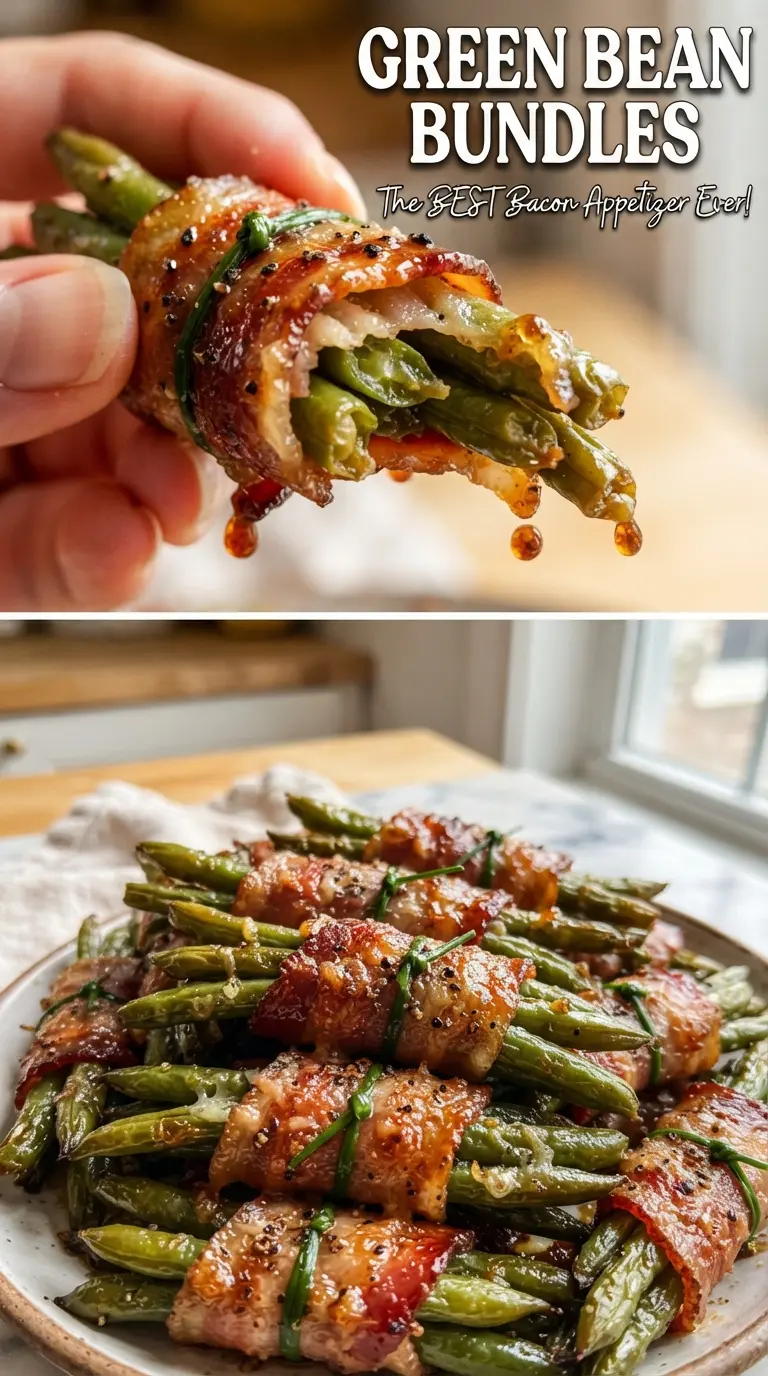
- Fresh green beans — Fresh beans hold their shape after blanching and baking. Frozen beans turn too soft here and release extra water, which thins the glaze and makes the bacon steam instead of crisp.
- Bacon — Thin bacon works best because it crisps in the same window the beans finish. Thick-cut bacon often needs a longer bake than the beans can take, which leaves you choosing between underdone bacon and mushy vegetables.
- Brown sugar — This gives the glaze its sticky finish and helps it cling to the bundles. Packed light brown sugar is fine; dark brown sugar brings a deeper molasses note if you want a little more richness.
- Soy sauce and garlic — These pull the glaze away from candy-sweet and into savory territory. The soy sauce also balances the butter so the pan sauce tastes rounded instead of heavy.
- Butter — Melted butter carries the glaze and helps it bubble into a glossy coating. If you need a dairy-free version, use a neutral plant-based butter that melts cleanly; oil won’t give you the same body.
Building the Bundles So the Bacon Bakes Evenly
Wrap the Beans Tightly, Then Set the Seam Down
Gather the blanched beans into even bundles before you wrap them so each portion bakes at the same rate. Lay the bacon around the center snugly, not stretched, then place each bundle seam-side down in the baking dish. That position matters because it keeps the bacon from unraveling while the fat renders and the glaze starts bubbling underneath.
Make the Glaze in One Bowl and Pour It Evenly
Whisk the melted butter, brown sugar, garlic, soy sauce, and black pepper until the sugar starts dissolving and the mixture looks glossy. Pour it over the bundles in a thin, even layer rather than dumping it all in one spot, or you’ll get a few overloaded bundles and a bare baking dish around them. The glaze should pool in the bottom of the pan and bubble up around the bacon as it bakes.
Bake Until the Bacon Renders and the Sauce Turns Sticky
Put the dish in a 400°F oven and watch for the bacon edges to darken and the glaze to become foamy and thick. The bundles are done when the bacon looks crisp at the edges and the beans still have a little snap. If the glaze seems loose at first, give it the full time; it thickens as the butter reduces and the sugar concentrates.
Spoon the Pan Glaze Over the Top Before Serving
Let the bundles rest for a minute or two, then spoon the glaze from the pan over the top. That last step gives you the best shine and keeps the flavor where it belongs instead of leaving it behind in the baking dish. Serve them warm so the bacon stays crisp and the glaze still clings in a thin layer.
How to Adapt These Green Bean Bundles for Different Tables
Make-Ahead for a Busy Dinner
Blanch and drain the beans up to a day ahead, then keep them chilled and dry. You can also wrap the bundles a few hours before baking and hold them covered in the refrigerator, then add the glaze right before they go in the oven. That keeps the bacon from softening and the beans from weeping water into the dish.
Thicker Bacon for a Richer Finish
Thick-cut bacon gives you a meatier bite and a little more chew, but it needs extra time in the oven. If you use it, expect the beans to soften slightly more and keep an eye on the glaze so it doesn’t darken too fast. This swap works best when you want a heartier side and don’t mind a softer bean.
Gluten-Free Version
Use a certified gluten-free soy sauce or tamari and everything else stays the same. The flavor stays savory and balanced, and the glaze still thickens the same way because the sugar and butter are doing the heavy lifting.
Less-Sweet, More-Savory Glaze
Cut the brown sugar back slightly and add an extra splash of soy sauce if you want a glaze that leans more savory than sticky-sweet. You’ll lose a little shine, but the bacon and garlic stand out more, which works well next to richer main dishes.
Storage and Reheating
- Refrigerator: Store leftovers in an airtight container for up to 3 days. The bacon softens a bit as it chills, but the flavor stays good.
- Freezer: I don’t recommend freezing these. The beans lose their texture and the glaze separates after thawing.
- Reheating: Warm leftovers in a 350°F oven until heated through. The oven helps the bacon re-crisp; the microwave makes everything soft and pushes the glaze into the beans.
Questions I Get Asked About This Recipe
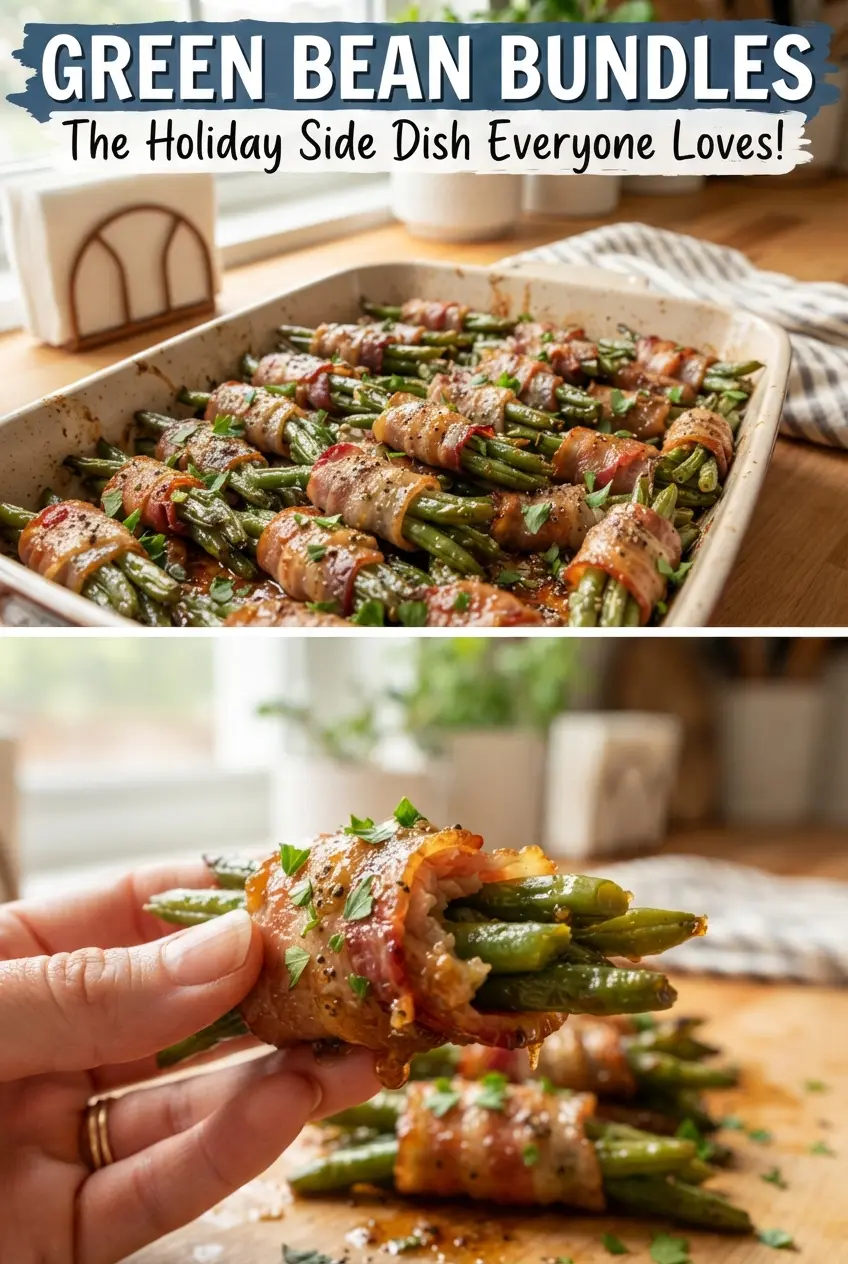
Green Bean Bundles
Ingredients
Equipment
Method
- Preheat oven to 400°F. Blanch the trimmed green beans in boiling water for 3 minutes, then plunge into ice water and drain so they stay bright green.
- Gather 8-10 beans into a bundle and wrap with a half slice of bacon, placing them seam-side down in a baking dish. Keep bundles snug so the bacon stays in place while baking.
- Whisk the melted butter, brown sugar, minced garlic, soy sauce, and black pepper until smooth. The glaze should look glossy and pourable for even coverage.
- Pour the glaze evenly over the bundles. Bake at 400°F for 25-30 minutes, until the bacon is crisp and the glaze is bubbly.
- Spoon the pan glaze over the bundles and serve warm. Letting the glaze cling to the bacon improves the sweet-savory coating.