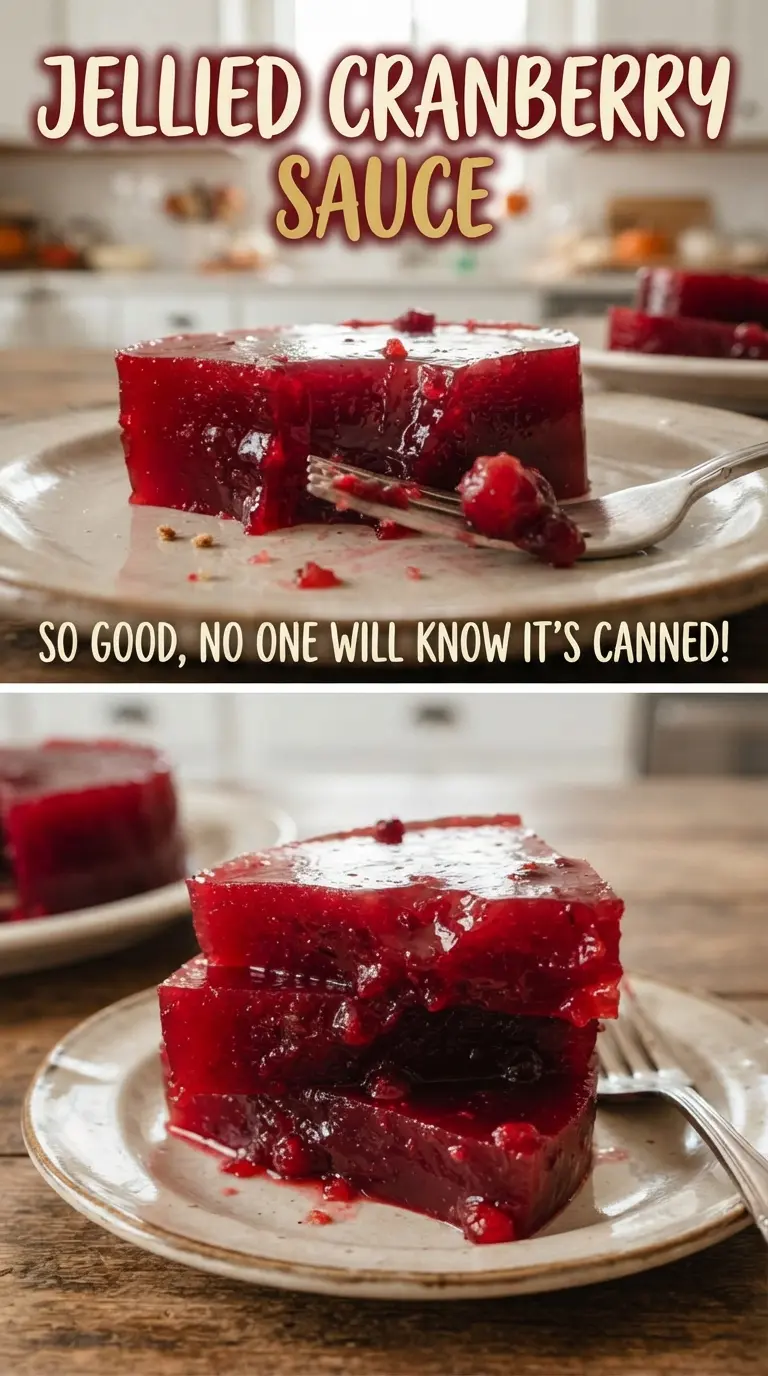
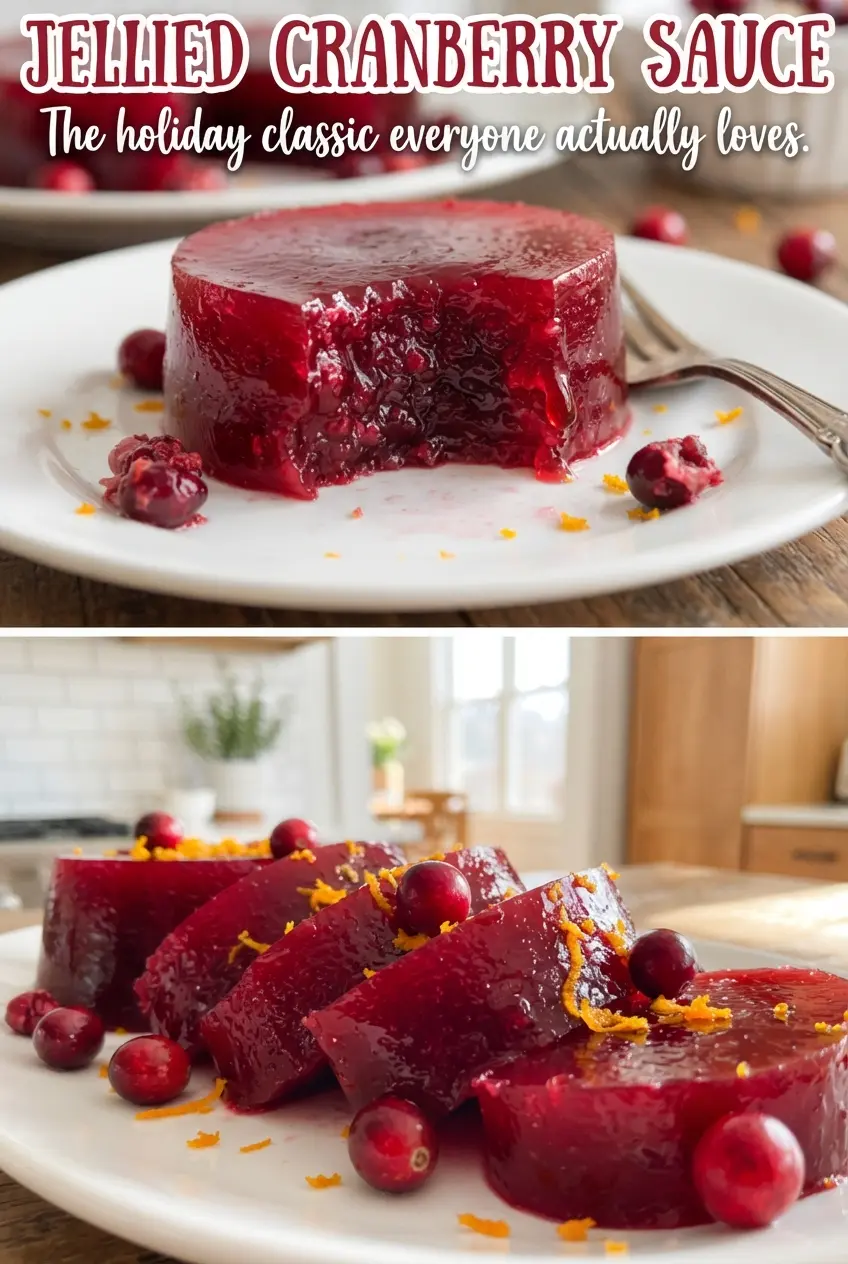
Jellied cranberry sauce lands on the plate with that glossy, ruby-red wobble that looks neat and tastes bright, tart, and clean. When it’s made well, it slices into tidy rounds that hold their shape without feeling rubbery, and it brings just enough sweetness to balance rich holiday food without smothering it.
The texture comes from cooking the cranberries until every berry bursts, then pressing the mixture through a fine-mesh strainer so the skins don’t muddy the finish. That second boil after straining matters more than people think; it tightens the puree enough for a clean slice later. The lemon juice sharpens the flavor and helps the sauce taste fresh instead of one-note sweet.
Below, I’ve included the small details that keep the mold glossy and firm, plus the one step that makes the difference between a neat cranberry slice and a loose spoonable compote.
The sauce set up with that perfect sliceable texture, and the lemon kept it from tasting too sweet. I used a can like you suggested and it slid out cleanly after chilling overnight.
Love that smooth, sliceable cranberry mold? Save this jellied cranberry sauce for the holiday table when you want clean edges and a bright, tart finish.
The Step That Gives Jellied Cranberry Sauce Its Clean Slice
The mistake that ruins molded cranberry sauce is stopping too soon at the stovetop. The berries have to burst completely, and then the strained puree needs that short second boil so excess water evaporates and the pectin has a chance to set up into something sliceable. If you pour it into a mold before it thickens slightly in the pot, it usually chills into a soft mound instead of a neat slab.
Straining also changes the final texture more than people expect. Pushing the pulp through the sieve adds body, but the skins stay behind because they turn tough and grainy once chilled. That extra minute at the strainer is what gives you the smooth, glossy finish that cuts in clean rounds.
What the Sugar, Lemon, and Cranberries Are Each Doing Here
- Fresh cranberries — These bring the natural pectin that makes the sauce firm up after chilling. Frozen cranberries work too, and you don’t need to thaw them first.
- Sugar — This isn’t just for sweetness. It balances the tart berries and helps the puree set with a shinier finish. Cutting it much lower can leave you with a sauce that tastes sharp and feels loose.
- Lemon juice — The acid brightens the berries and keeps the final flavor from tasting flat. Fresh lemon juice is best here because it tastes clean, not bottled or dull.
- Water — This gives the berries enough liquid to cook down without scorching. There isn’t a good substitute for the cooking liquid itself, but you can use a little more if your pot runs dry before the berries burst.
- Pinch of salt — It won’t make the sauce taste salty. It sharpens the cranberry flavor and keeps the sweetness in check.
From Bursting Berries to a Mold That Holds Its Shape
Cooking Until Every Berry Gives In
Combine the cranberries, sugar, and water in a saucepan and bring it to a boil, then let it simmer until the berries have all burst open. You’ll hear them pop, and the mixture will turn from clear and watery to thick and jammy. If you stop when a few berries are still intact, the puree will stay looser and the flavor won’t be as even.
Pressing Out the Right Texture
Pour the hot mixture through a fine-mesh strainer and use a spoon to press the pulp through. Scrape firmly enough to get the thick puree, but don’t force the skins through; they’re what makes the sauce look fibrous and dull instead of smooth. The puree should look glossy and fairly dense before it goes back into the pot.
Setting It Up for the Chill
Return the strained puree to the pan with the lemon juice and salt, then boil it for 3 to 4 minutes while stirring. That final boil helps drive off extra moisture, which is the difference between a sauce that unmolds cleanly and one that slumps. Pour it into a lightly oiled mold, loaf pan, or clean can, then chill it at least 6 hours or overnight until it feels firm all the way through.
Unmolding Without Breaking the Shine
Run a thin knife around the edge to loosen the sauce, then invert it onto a plate and let gravity do the rest. If it clings, set the bottom of the mold in warm water for just a few seconds, not enough to melt the outside. Slice with a sharp knife wiped clean between cuts so the rounds stay crisp.
How to Adjust the Sweetness, Shape, and Serving Style
Less Sweet, More Tart
You can reduce the sugar slightly if you like a sharper cranberry bite, but don’t cut it too far or the sauce will lose body and taste thin. A small reduction still keeps the sliceable texture while letting the berries stay front and center.
Vegan and Naturally Gluten-Free
This recipe already fits both diets as written, which makes it an easy side dish for mixed tables. The only thing to watch is the mold or pan you choose; use one that’s clean and lightly oiled so the finished sauce releases neatly.
Loaf Pan Instead of a Can
A loaf pan gives you the easiest slice and the most predictable shape if you don’t want to unmold from a cylinder. Oil it lightly, line it with parchment if you want extra insurance, and chill until the center feels fully firm before turning it out.
Make-Ahead Storage
Refrigerator: Keep covered for up to 1 week. The texture stays firm, though the surface can lose a little shine after a day or two. Freezer: I don’t recommend freezing it, since the set can turn watery once thawed. Reheating: This is meant to be served chilled or cool, so don’t reheat it; if it has been in the fridge for a long time, let it sit out for 10 to 15 minutes before slicing so the knife moves cleanly.
Answers to the Questions Worth Asking
Jellied Cranberry Sauce
Ingredients
Equipment
Method
- Bring fresh cranberries, sugar, and water to a boil in a saucepan. Simmer for 10 minutes, stirring occasionally, until all berries have burst and the liquid looks thickening and ruby-red.
- Press the hot mixture through a fine-mesh strainer, scraping to push all pulp through. Discard the skins so you’re left with a smooth cranberry puree.
- Return the strained puree to the saucepan with lemon juice and salt. Boil for 3-4 minutes, stirring, until it looks glossy and slightly thickened.
- Pour the hot cranberry mixture into a lightly oiled mold, loaf pan, or clean can. Let it cool briefly at room temperature, then chill until firm.
- Chill for at least 6 hours or overnight until the jellied cranberry sauce is fully set and sliceable. Cover the top once cooled to prevent fridge odors from absorbing.
- Run a knife around the edge of the mold, loaf pan, or can to loosen the gel. Invert onto a plate so the jellied cranberry sauce releases cleanly, then slice into rounds.