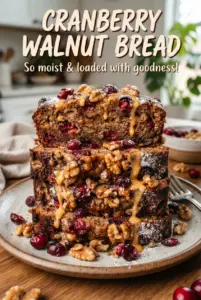
Cranberry walnut bread bakes up with a tender crumb, a golden top, and bright pops of tart fruit in every slice. The orange zest and juice keep the loaf from tasting heavy, while toasted walnuts add just enough richness and crunch to make each bite feel complete. It’s the kind of quick bread that disappears fast because it works for breakfast, snack time, or a warm slice with butter after dinner.
What makes this version work is the balance. The batter stays simple, but the orange zest gets rubbed through the dry ingredients so its oils spread evenly, and the cranberries are folded in at the very end so they don’t stain the whole loaf. The walnuts are worth toasting first; that extra step deepens their flavor and keeps them from tasting flat once they’re baked into the crumb. Don’t overmix once the wet ingredients hit the dry ingredients. A few streaks of flour are better than a tight, rubbery loaf.
Below, you’ll find the small details that keep this bread from turning dense or soggy, plus the best way to handle frozen cranberries and a few smart swaps if you need them.
The loaf rose beautifully and the crumb stayed moist for days. I loved the orange with the cranberries, and toasting the walnuts made the flavor stand out without overpowering the bread.
Save this cranberry walnut bread for the days when you want a bright, buttery loaf with tart berries and toasted walnut crunch.
The crumb stays tender because the batter barely gets mixed
Quick bread looks forgiving, but it punishes overworking. Once the wet ingredients hit the flour, the batter should be stirred just until the dry streaks disappear. That keeps the loaf soft instead of chewy. If you beat it smooth, you’ll work too much gluten into the batter and the finished bread will lose that tender, cakey bite people want in a loaf like this.
The other place this recipe can go wrong is moisture. Cranberries release juice as they bake, and that’s a good thing as long as the batter isn’t already loose. This is why the recipe uses orange juice for flavor instead of extra liquid richness. The loaf stays structured enough to hold the fruit without collapsing into a gummy center.
What each ingredient is doing in the loaf
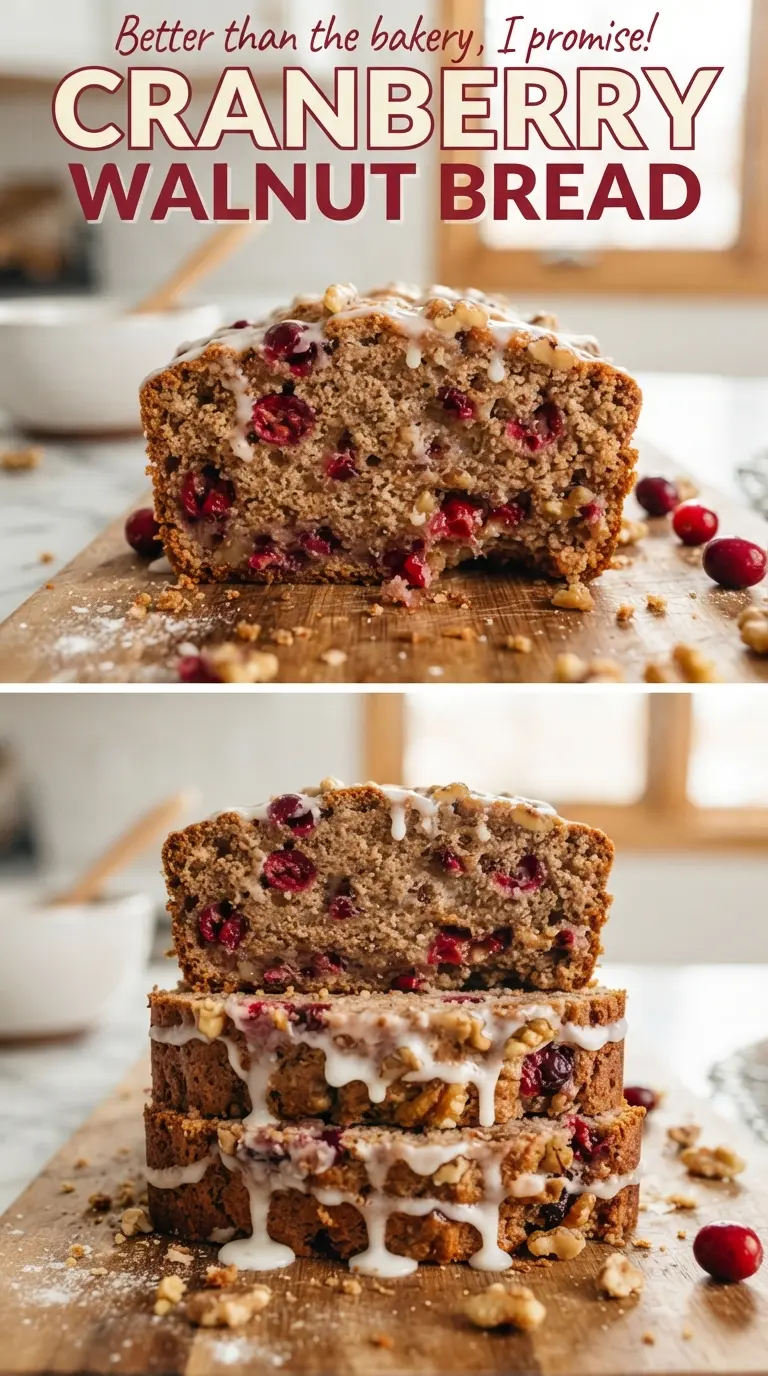
- Orange zest — This is the ingredient that makes the bread taste bright instead of just sweet. Stirring it into the dry mix helps spread the oils throughout the loaf. Don’t skip it unless you’re replacing it with another citrus zest, because the bread loses a lot of character without that top note.
- Orange juice — It gives the crumb a gentle tang and keeps the loaf from tasting one-note. Fresh juice is best here, but bottled juice works in a pinch if it tastes clean and not overly sweet. If you swap in milk, you’ll lose the citrus flavor and the bread will lean flatter and heavier.
- Cranberries — Fresh cranberries bring the sharpest pop, but frozen cranberries work too and don’t need thawing. Rough chopping helps them distribute more evenly so you don’t get giant pockets of fruit. If you use whole berries, the slices can fall apart when you cut them.
- Walnuts — Toasting matters. Untoasted walnuts can taste muted inside a sweet quick bread, while toasted walnuts add depth and a clean crunch. Pecans can stand in if that’s what you have, but the texture will be a little softer and sweeter.
Mixing and baking the loaf without losing the lift
Getting the dry ingredients ready
Whisk the flour, sugar, baking powder, baking soda, salt, and orange zest together before anything else. That first mixing step matters more than it looks like it should, because it evenly distributes the leaveners and keeps the zest from clumping in one spot. The mixture should look even and fluffy, with no visible streaks of baking soda or powder. If the leaveners aren’t dispersed well, the loaf can rise unevenly and bake up with a tunnel down the middle.
Bringing the batter together
Whisk the orange juice, egg, melted butter, and vanilla in a separate bowl until the egg is fully broken up and the butter is no longer sitting in slick pools. Pour that into the dry ingredients and stir gently. Stop as soon as the flour disappears. The batter will look thick and a little rough, and that’s exactly what you want. Overmixing here is the fastest way to a dense loaf, so resist the urge to keep stirring for a perfectly smooth batter.
Folding in the fruit and nuts
Add the chopped cranberries and walnuts at the end and fold them through with a spatula. The batter should look evenly studded, not streaked purple or packed with nuts in one corner. Scrape it into the pan and spread it level so the center bakes at the same rate as the edges. If the fruit sinks, the batter was probably overmixed or too loose, which is another reason to keep the stirring brief.
Baking until the center sets
Bake at 350F until the top is deeply golden and a toothpick inserted in the center comes out clean or with just a few moist crumbs. Start checking near the 55-minute mark, because ovens vary and quick breads can go from done to dry fast. The loaf should spring back lightly when touched in the center. Let it cool in the pan for 10 minutes before turning it out, then wait until it’s fully cool to slice cleanly.
Three ways to adapt this bread without wrecking the texture
Make it dairy-free
Swap the melted butter for a neutral dairy-free baking stick or refined coconut oil. The loaf will still be moist, but butter gives the crumb a slightly richer flavor, so a dairy-free version tastes a little cleaner and lighter. If you use coconut oil, let it cool slightly before mixing so it doesn’t seize when it hits the egg.
Use dried cranberries instead of fresh
Dried cranberries work if that’s what you have, but the bread loses some of the bright tartness that makes the fresh version stand out. Chop them a little and use a light hand if they seem especially chewy. If they look very dry, soak them in warm orange juice for 10 minutes, then drain well before folding them in.
Make it nut-free
Leave out the walnuts and add the same amount of extra cranberries, or replace the nuts with sunflower seeds for crunch. The loaf will still slice well, but it will taste a little brighter and less rich. If you skip the nuts entirely, don’t add extra liquid to compensate; the batter already has enough moisture.
Turn it into mini loaves
Divide the batter between smaller pans and start checking early, because the edges set faster in a smaller loaf. This is a smart move for gifting, and the smaller loaves give you a better crust-to-crumb ratio. Keep an eye on the center so you don’t overbake them while waiting for the tops to color.
Storage and Reheating
- Refrigerator: Store tightly wrapped for up to 5 days. The crumb stays moist, but the top softens a little after day one.
- Freezer: This loaf freezes well. Wrap whole or in slices, then seal in a freezer bag for up to 3 months.
- Reheating: Warm slices in a toaster oven or low oven until just heated through. Microwaving too long makes quick bread rubbery, so use short bursts if that’s your only option.
Answers to the questions worth asking
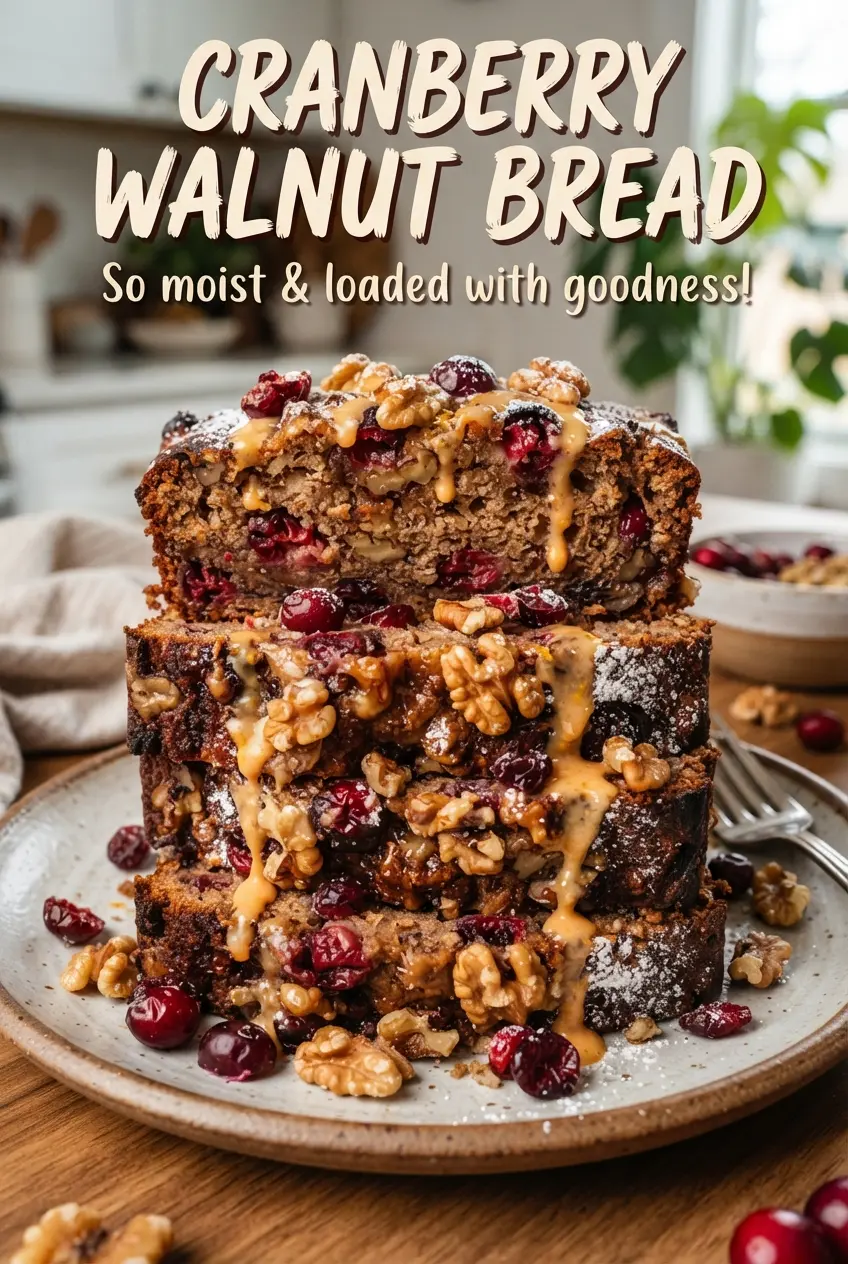
Cranberry Walnut Bread
Ingredients
Equipment
Method
- Preheat oven to 350F. Grease and line a 9x5-inch loaf pan, using a visual check to ensure the sides are coated.
- Whisk all-purpose flour, sugar, baking powder, baking soda, salt, and orange zest together in a bowl until evenly combined and pale speckling disappears. This should look uniform and dry.
- Whisk orange juice, egg, butter, melted, and vanilla extract together until smooth. The mixture should look glossy and fully incorporated.
- Stir wet into dry just until moistened, avoiding overmixing; the batter should be thick with no dry flour pockets. Stop as soon as it comes together.
- Fold in cranberries, roughly chopped and walnuts, toasted and chopped, spreading them through the batter. You should see even red and walnut pieces throughout.
- Transfer batter to the loaf pan and spread into an even layer. Tap the pan once to settle the top.
- Bake for 55-60 minutes at 350F until golden and a toothpick comes out clean. The loaf should spring back lightly when pressed.
- Cool for 10 minutes in the pan, then turn out onto a rack to fully cool before slicing. The loaf should feel set, not warm in the center.