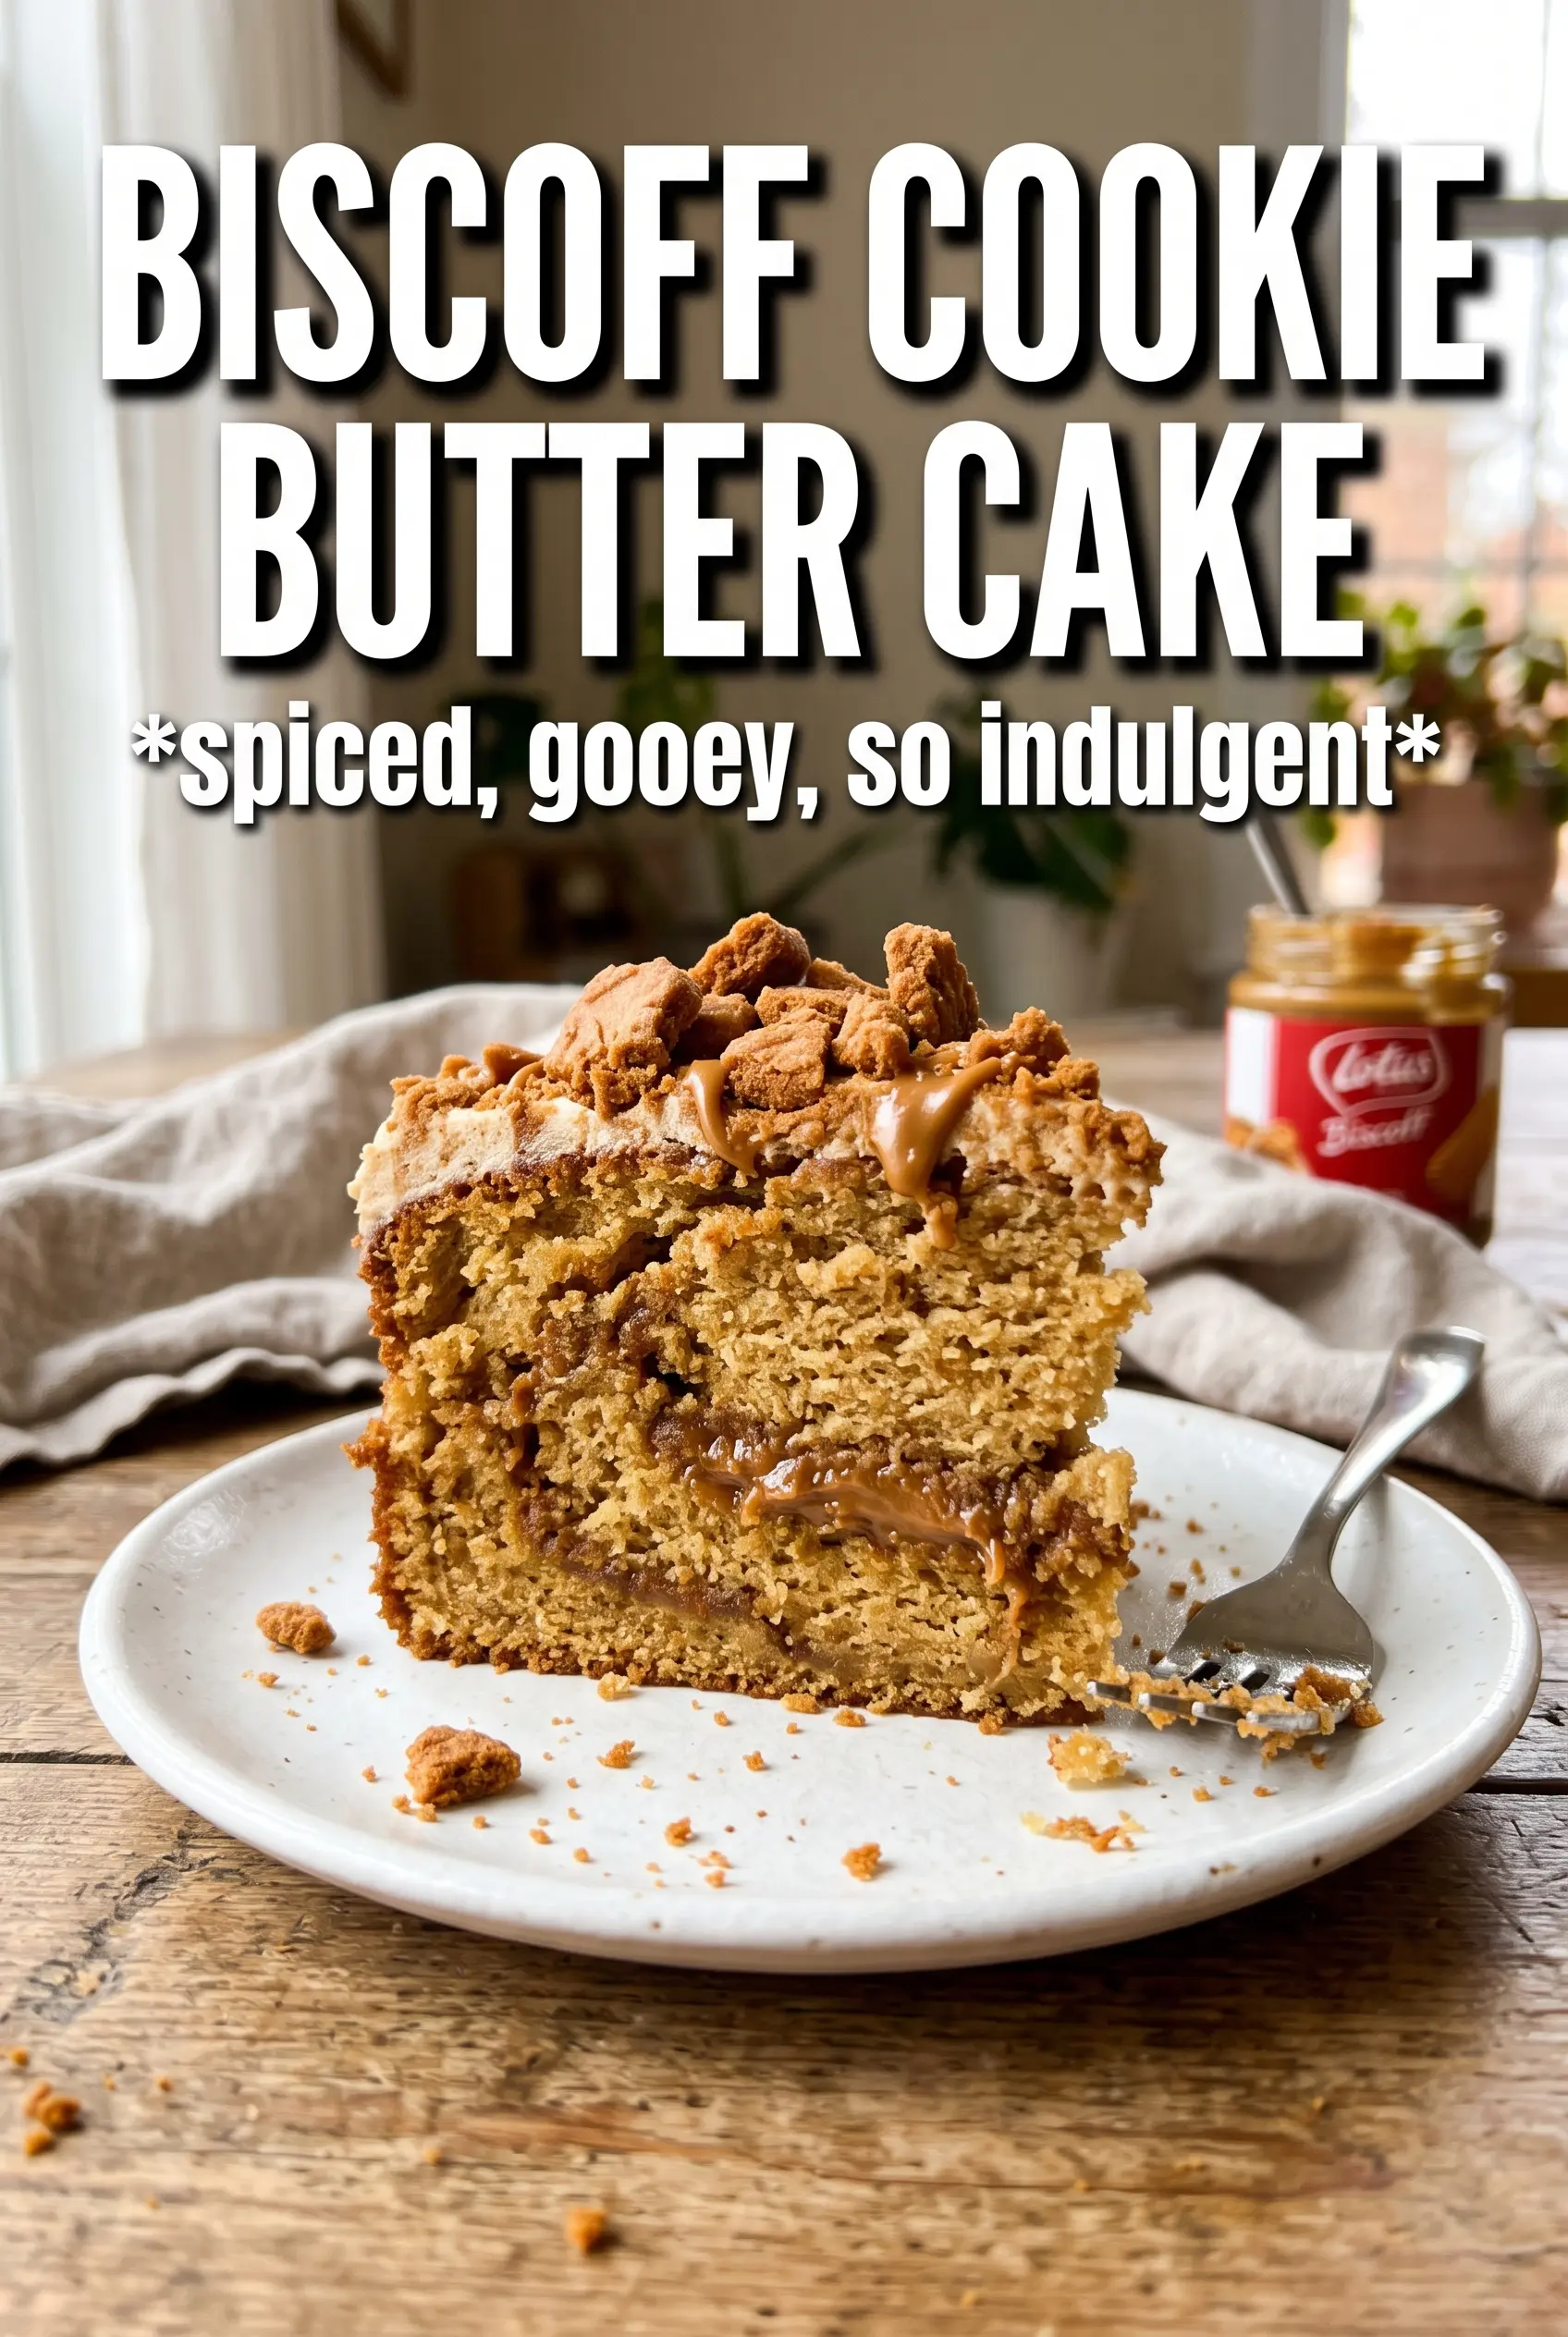
Biscoff Cookie Butter Cake has that soft, plush crumb that holds together in neat slices, with a warm caramel-spice flavor running through every layer. The frosting tastes like a cross between vanilla buttercream and straight-up cookie butter, which means the cake feels familiar and a little bit special at the same time. It’s the kind of dessert people ask about before they’ve finished the first bite.
What makes this version work is the balance. Brown sugar deepens the cake, buttermilk keeps the crumb tender, and the Biscoff spread brings enough richness without turning the batter heavy. The cinnamon matters here too; it doesn’t make the cake taste like spice cake, it just nudges the cookie butter flavor in the right direction.
Below, I’ll walk through the part that matters most: keeping the cake layers soft instead of dense, and getting the frosting to spread smoothly without going greasy or stiff. There’s also a storage note that helps if you want to bake the layers ahead and finish the cake later.
The cake layers baked up incredibly tender, and the Biscoff frosting spread like a dream. I loved that the crushed cookies on the sides stayed crisp enough to give a little texture with each slice.
Save this Biscoff Cookie Butter Cake for the days when you want soft caramel-spice layers with that thick, cookie butter frosting.
The Small Temperature Window That Keeps These Layers Tender
This cake depends on creaming the butter and brown sugar long enough to trap air, but not so long that the mixture starts to look greasy. That first stage gives the layers lift before the flour ever goes in. If the butter is too cold, the batter stays dense; if it’s melted, the cake loses structure and bakes up heavy.
The other place people run into trouble is after the flour goes in. Once you add it, mix only until the streaks disappear. Overmixing develops the gluten in the flour and turns a soft, fine crumb into something tighter and more bread-like. The buttermilk helps keep the texture tender, but it can’t undo a batter that’s been beaten too much.
- Butter — Use softened butter, not warm butter. It should press easily under your finger but still hold its shape. That’s what gives you the fluffy base you need.
- Biscoff spread — This is the ingredient that makes the cake taste unmistakably like cookie butter instead of just brown sugar cake with cinnamon. The creamy version blends into the batter best.
- Buttermilk — The acidity softens the crumb and gives the baking soda something to react with. If you don’t have it, stir 1 tablespoon lemon juice or vinegar into 1 cup milk and let it sit for 5 minutes.
- Brown sugar — White sugar will work in a pinch, but you’ll lose the deeper caramel note that makes this cake taste rich. Brown sugar also helps the layers stay moist for a couple of days.
Building the Batter So It Bakes Up Light, Not Heavy
Mix the dry ingredients first
Whisk the flour, baking powder, baking soda, cinnamon, and salt together before anything else. That keeps the leaveners and spice evenly distributed, so you don’t end up with a pocket of cinnamon or a bitter bite of baking soda. If you skip this, the cake can bake unevenly and the texture suffers.
Cream the butter and sugar until pale
Beat the butter and brown sugar until the mixture looks lighter in color and a little fluffy. This is where the cake gets its lift, so don’t rush it. Add the eggs one at a time, then mix in the Biscoff, vanilla, and buttermilk. The batter may look slightly curdled once the buttermilk goes in, and that’s fine.
Fold in the flour gently
Add the dry ingredients and mix only until the last flour streak disappears. The batter should look thick and smooth, not whipped. Divide it evenly between the pans so the layers bake at the same rate. If one pan is noticeably fuller than the others, the cake will dome unevenly and be harder to frost.
Bake until the centers spring back
Bake at 350°F until the tops are set and a toothpick comes out with a few moist crumbs, usually 30 to 35 minutes. Don’t wait for the cake to look dark brown; that’s too far for this one. The edges should pull slightly from the pan, and the center should spring back when touched lightly. Cool completely before frosting or the buttercream will slide.
What Each Component Is Actually Doing in the Frosting
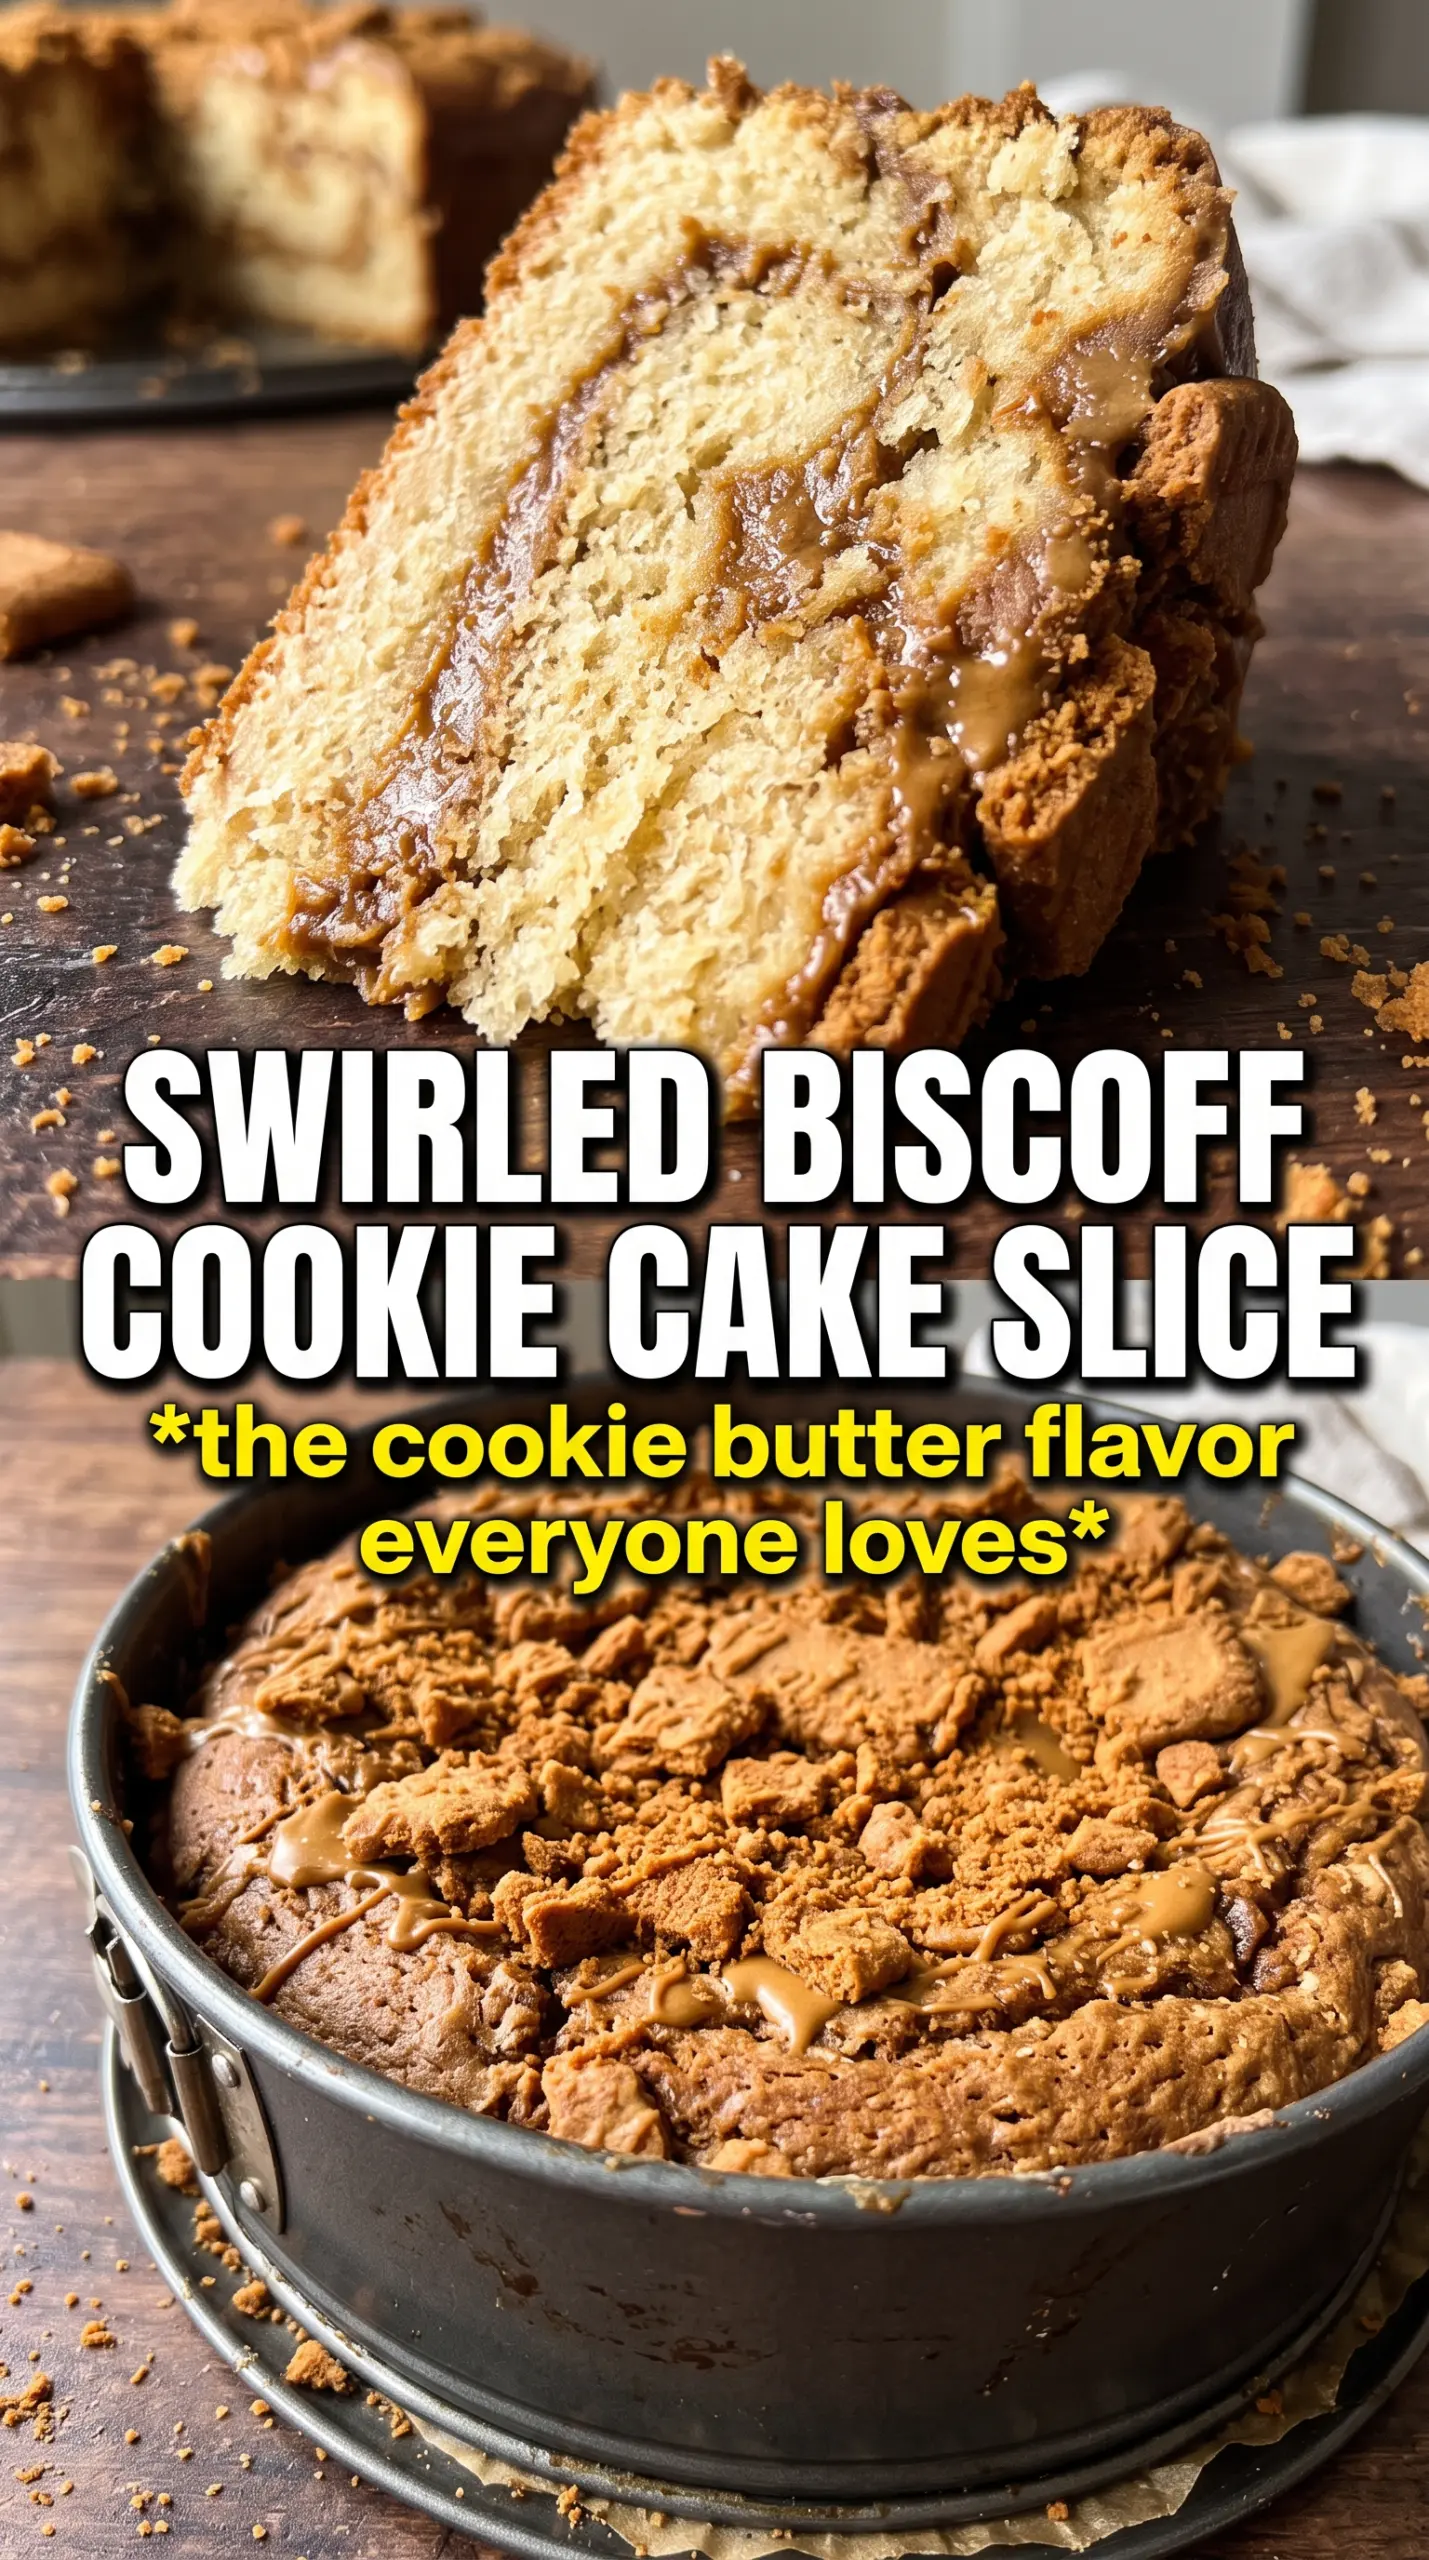
The frosting is built on the same logic as the cake: balance and texture. Butter gives you the structure, Biscoff spread brings the cookie butter flavor forward, powdered sugar gives body, and cream loosens it just enough to spread cleanly. If the frosting feels stiff, add cream a teaspoon at a time. If it turns loose, the powdered sugar pulls it back fast.
- Butter — Start with room-temperature butter so the frosting whips smoothly. Cold butter leaves little lumps, and melted butter makes the frosting soupy.
- Powdered sugar — This gives the frosting its body and sweetness. Add it in batches so it doesn’t blow out of the bowl and so the texture stays silky.
- Cream — Just enough cream makes the frosting spreadable without making it run. Heavy cream gives the best result, but milk works if that’s what you have.
- Crushed Biscoff cookies — Crush them fairly fine for the sides, but leave a few larger bits if you want extra crunch on top. They soften slowly once the cake is frosted, so add them close to serving if you want the best texture.
How to Adapt This Cake for Different Tables and Timelines
Dairy-Free Version
Use a plant-based butter that behaves well in baking and replace the buttermilk with unsweetened non-dairy milk mixed with 1 tablespoon vinegar or lemon juice. The cake will still be soft, but the frosting will need a bit more powdered sugar to hold its shape because dairy-free fats soften faster at room temperature.
Less Sweet, More Cookie Butter
Reduce the powdered sugar in the frosting by about 1/2 cup if you want the Biscoff flavor to come forward more strongly. The texture will be a little softer and less pipeable, but it spreads beautifully between the layers and gives a more balanced finish.
Make It Ahead
Bake the layers a day in advance, wrap them tightly once cool, and frost the next day. The cake actually slices a little cleaner after it has had time to settle. If you frost it too far ahead, the cookie crumbs on the outside soften, so add those the same day you plan to serve it.
Storage and Reheating
- Refrigerator: Store covered for up to 4 days. The cake stays moist, but the frosting firms up in the fridge.
- Freezer: Freeze unfrosted cake layers tightly wrapped for up to 2 months. Frosted slices can also be frozen, but the cookie crumb coating loses some crunch.
- Reheating: Bring refrigerated cake to room temperature before serving. Cold cake tastes dull and the frosting feels hard, so let it sit out for 30 to 45 minutes for the best texture.
Questions I Get Asked About This Recipe
Biscoff Cookie Butter Cake
Ingredients
Equipment
Method
- Preheat oven to 350F, then grease three 8-inch round pans and set aside with a light coating of fat so the layers release easily.
- Whisk together all-purpose flour, baking powder, baking soda, cinnamon, and salt until evenly combined.
- Beat butter and brown sugar until fluffy, about 2 to 3 minutes, to aerate the batter.
- Add eggs one at a time, then mix in Biscoff cookie butter, vanilla, and buttermilk until the batter looks smooth and uniform.
- Fold the dry ingredients into the wet ingredients just until no flour streaks remain.
- Divide batter evenly between the three pans so the layers bake at the same rate.
- Bake at 350F for 30 to 35 minutes, until the centers spring back lightly and a toothpick comes out mostly clean.
- Cool the cakes completely in the pans before frosting so the frosting stays thick and doesn’t melt.
- Beat frosting ingredients until fluffy, using butter and Biscoff spread as the base, then mix in powdered sugar, cream, and vanilla until spreadable.
- Spread frosting between the cooled layers and smooth a layer on top for a caramel-colored, even finish.
- Press crushed Biscoff cookies onto the frosting on the sides and top so they adhere to the creamy surface.